Building an Expense Application with Electron and React
March 14th, 2016 | By Juho Vepsäläinen | 5 min read

Learn how to develop a small expense application on top of Electron and React. JavaScript is everywhere these days. You can even use it to develop desktop applications.
Platforms like NW.js (formerly node-webkit) and Electron (formerly known as Atom Shell) enable this. In this post, I will show you how to develop a small expense-tracking application on top of Electron and React.
Getting Started with Electron
Before going further, make sure you have a fresh version of Node.js and Git installed. We can get a rough Electron application running really quickly:
git clone https: //github.com/chentsulin/electron-react-boilerplate.git expense-app
    cd expense - app
npm install
After these steps we’ll need to run the following commands in two separate terminals:
npm run hot - server
npm run start - hot
Once you have run the latter, you should see something like this:
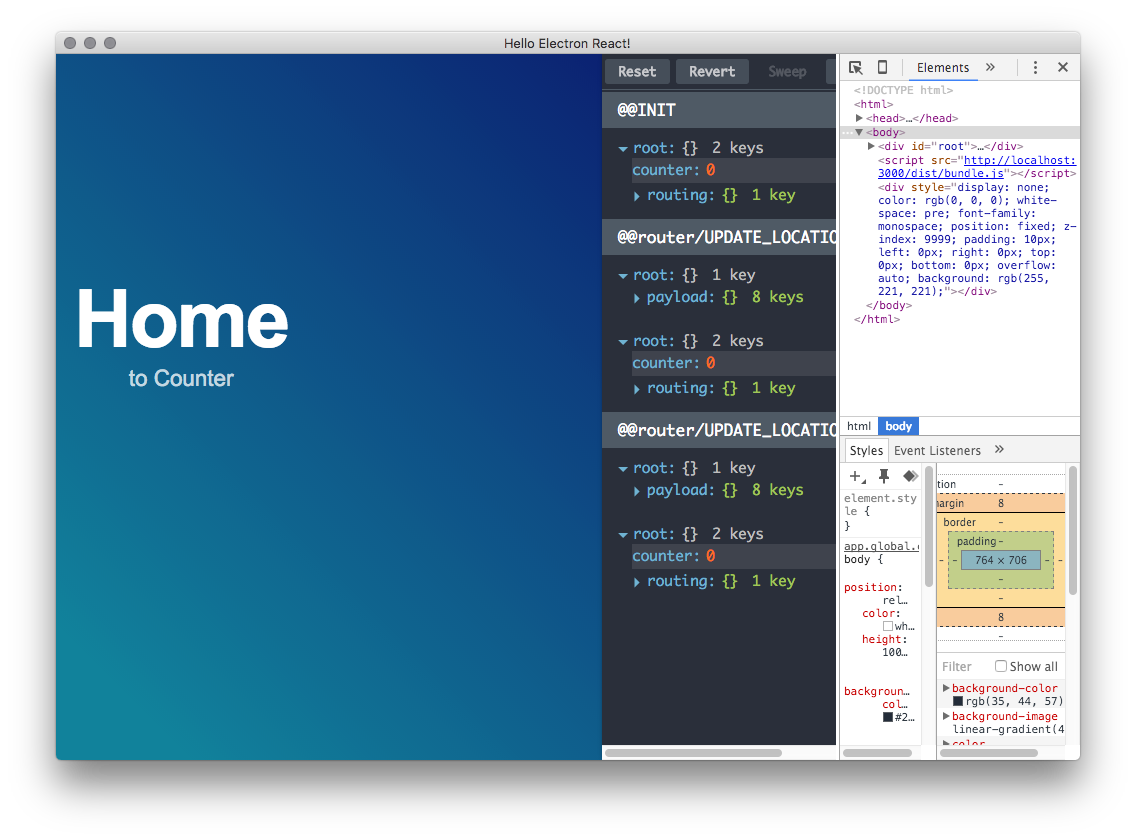 As you might guess by now, we actually have a browser running now. To be exact, it’s a version of Chromium. Compared to normal web development, though, we have more power at our disposal.
We can access the file system or use desktop notifications for example. We can even bundle our application and push it to the Mac App Store should we want to.
Expense Application Design
To track expenses, we are going to need three basic concepts:
Income – A list of income names and the amount of each.
Expense – A list of expense names and the cost per each.
Total – The sum of losses subtracted from the sum of profits.
In terms of user interface, we are going to need some way to enter incomes and expenses. In addition, we need to visualize them, and total, them somehow.
The first problem can be solved through a dropdown (income/expense) and an input. When you hit enter, it should add the value to the chosen collection.
The latter can be solved through list-based visualization (name, amount) and an element to display the calculated total.
Implementing the Application
To get started with the implementation, we could model a control for adding incomes and expenses. For the sake of simplicity, the implementation will track just the type of value and the amount/cost.
app/components/Home.js
import React, {
    Component
}
from 'react';
import styles from './Home.css';

export default class Home extends Component {
    render() {
        return (
      <div>
        <div className = {styles.container} >
          <div className = {styles.addValue} >
           <select>
            <option value ="income"> Income < /option>
            < option value = "expense" > Expense < /option>
           </select>
          <input type = "number" min = "0" / >
          </div> < button type = "button" > Add < /button>
        </div>
      </div>);
    }
}
app/components/Home.css
.container {
    position: absolute;
    top: 30 % ;
    left: 10 px;
    text - align: center;
}

.container h2 {
    font - size: 5 rem;
}

.container a {
    font - size: 1.4 rem;
}

.addValue {
    display: inline;
}
After updating the code, you should see this:
 We still need to capture the user input somehow and render the values.
Even though the boilerplate provides Redux, I am going to keep it simple and use React’s state instead. Due to this, you will need to force refresh after the next addition! So trigger either cmd-r or ctrl-r at Electron window after changing the code as follows.
import React, {
    Component
}
from 'react';
import styles from './Home.css';

export default class Home extends Component {
    constructor(props) {
        super(props);

        this.state = {
            income: [],
            expense: []
        };

        this.addValue = this.addValue.bind(this);
    }
    render() {
        const sum = (a, b) => a + b;
        const income = this.state.income;
        const expense = this.state.expense;
        const total = income.reduce(sum, 0) - expense.reduce(sum, 0);

        return (
    <div>
    <div className={styles.container}>
        <div className={styles.addValue}>
            <select ref="valueType">
                <option value="income"> Income</option>
                <option value="expense"> Expense
                </option>
            </select>
            <input type="number" min="0" ref="value" />
        </div>
        <button type="button" onClick={this.addValue}> Add</button>
    </div>

    <div> Income
    </div>
    <Values values={this.state.income} />

    <div> Expense
    </div>
    <Values values={this.state.expense} />

    <div> Total: { total }
    </div>
</div>
        );
    }
    addValue() {
        const valueType = this.refs.valueType.value;

        // It would be a good idea to validate the value here!
        const value = parseInt(this.refs.value.value, 10);

        this.setState({
            [valueType]: this.state[valueType].concat(value)
        });
    }
}

const Values = ({
    values
}) => {
    return ( < ul > {
        values.map((value, i) =>
            < li key = {
                `value-${i}`
            } > {
                value
            } < /li>
        )
    } < /ul>);
}
There is actually a lot going on here. If you haven’t seen React code before, a lot of it might seem alien. We are leveraging a couple of core concepts of React here:
this.state – This refers to the internal state of the component in question. An interesting alternative would be to push it out of the component altogether, but that’s beyond the scope of this post.
render() – That’s where we can decide how to display the data. We derive the value of total dynamically in addition to rendering our values through a custom component known as Values. Values rely on a function-based component definition and it’s literally just render() by itself.
const valueType = this.refs.valueType.value; – We extract the value of our select element through a React ref. Refs give us direct access to the DOM and provide an escape hatch of some sort. This is known as the uncontrolled way to treat form fields. Alternatively, we could capture the state through event handlers and control the value within React. Now our implementation is tied to DOM and changing the implementation would break this dependency.
{values.map((value, i) => ... } – The brace syntax allows us to mix JavaScript with JSX. JSX syntax itself is a light syntactical wrapper on top of React’s JavaScript API. We are relying on it heavily in this example.
<li key={value-${i}}>{value}</li> – To help React tell different list items apart, we are setting the key here. Setting it based on an array index like this isn’t the ideal solution, but it’s enough for this demo. It would be a better idea to generate unique IDs per each in our data model.
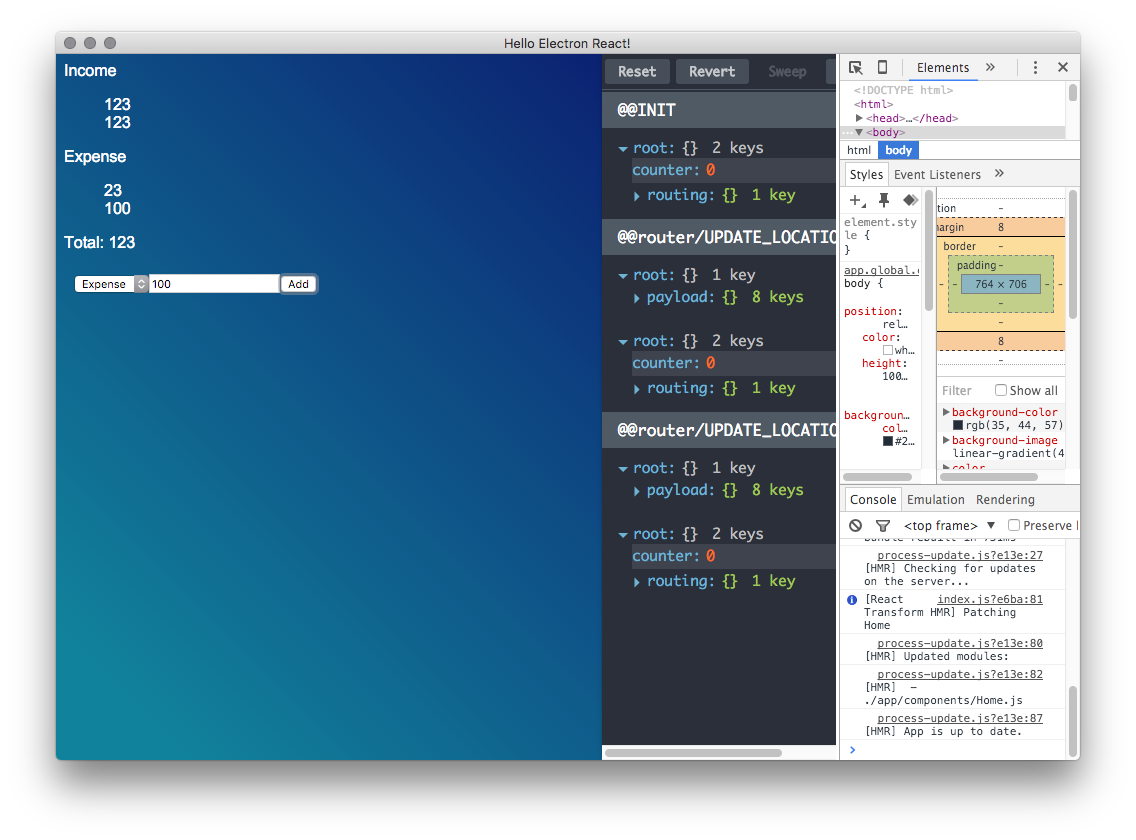
Assuming everything went fine, you should see something like this after using the application for a while:
Conclusion
The current application is somewhat simple when it comes to functionality and it’s far from a production-grade one. It would be fun to add more features to it:
Consider adding an input for entering income/expense name. Doing this change would mean that you would have to change the data model and start operating using arrays of objects instead of arrays of numbers.
The outlook of the application could be improved somewhat as well.
You could look into leveraging Redux over the React state.
Explore Electron’s capabilities further and save the data to the file system. You could also play around with notifications and show them when some limit is reached for instance.
To learn more about the topic, consider checking out my book, SurviveJS. It’s freely available and delves far deeper into the topic.
Jscrambler
The leader in client-side Web security. With Jscrambler, JavaScript applications become self-defensive and capable of detecting and blocking client-side attacks like Magecart.
View All ArticlesMust read next
Jscrambler transformations: what you can expect from Rename Local
If you don’t know our renaming source code transformations, they basically replace identifier names with meaningless ones. Check them here!
September 30, 2014 | By Filipe Silva | 4 min read
App Security Disasters in eCommerce
Attacks on eCommerce websites are increasingly common. Here, we detail some of the most relevant attacks, their outcomes, and how we can learn from them.
September 18, 2018 | By Jscrambler | 5 min read
