Creating Swipeable Gestures with React Native Gesture Handler
December 18th, 2019 | By Aman Mittal | 7 min read

Read the step-by-step process to use the React Native Gesture Handler library to set up native-like gestures in your React Native app.
The Gesture Responder system, a React Native built-in touch system, faces performance limitations on iOS and Android platforms.
To overcome this and a few other problems with the built-in gesture system, there is an open-source library that you can use to create gestures in your React Native apps.
The library react-native-gesture-handler not only overcomes the performance issue on each native platform but also uses touchables that run in the native thread and follow default platform behavior. In other words, it uses native support to handle gestures.
This library supports many gestures. We will look at one of the most useful ones: Swipeable.
Here is the link to the GitHub repo with the complete code used in this tutorial.
Getting Started: React Native Gesture Handler
Create a bare React Native project using the react-native CLI by running the below commands from a terminal window.
react-native init swipeableGestures

# after the project directory is created
# and dependencies are installed
cd swipeableGestures
Since you are at the initial stage of the demo, let us set up the main list to render. This list will have three items that will allow us to test the most relevant use cases of the Swipeable component. Most likely, you are already using most of these use cases in modern apps on iOS and Android.
Open App.js and add the following content (a simple flatList component that renders data items from an array of mock data named mockDataList outside the App component):
import React from 'react'
import {
 SafeAreaView,
 StyleSheet,
 View,
 Text,
 StatusBar,
 FlatList
} from 'react-native'

const mockDataList = [
 { id: '1', text: 'Swipe me left!' },
 { id: '2', text: 'Swipe me right!' },
 { id: '3', text: 'Try swiping in both directions' }
]

const Separator = () => <View style={styles.itemSeparator} />

const ListItem = ({ text }) => (
 <View style={{ paddingVertical: 20 }}>
   <Text style={{ fontSize: 24 }}>{text}</Text>
 </View>
)

const App = () => {
 return (
   <>
     <StatusBar barStyle='dark-content' />
     <SafeAreaView style={styles.container}>
       <FlatList
         data={mockDataList}
         keyExtractor={item => item.id}
         renderItem={({ item }) => <ListItem {...item} />}
         ItemSeparatorComponent={() => <Separator />}
       />
     </SafeAreaView>
   </>
 )
}

const styles = StyleSheet.create({
 container: {
   flex: 1
 },
 itemSeparator: {
   flex: 1,
   height: 1,
   backgroundColor: '#444'
 }
})

export default App
To run the demo app, run one of the commands below (depending on your OS):
# for macOS
react-native run-ios

# for windows/linux
react-native run-android
The above code will render the following output: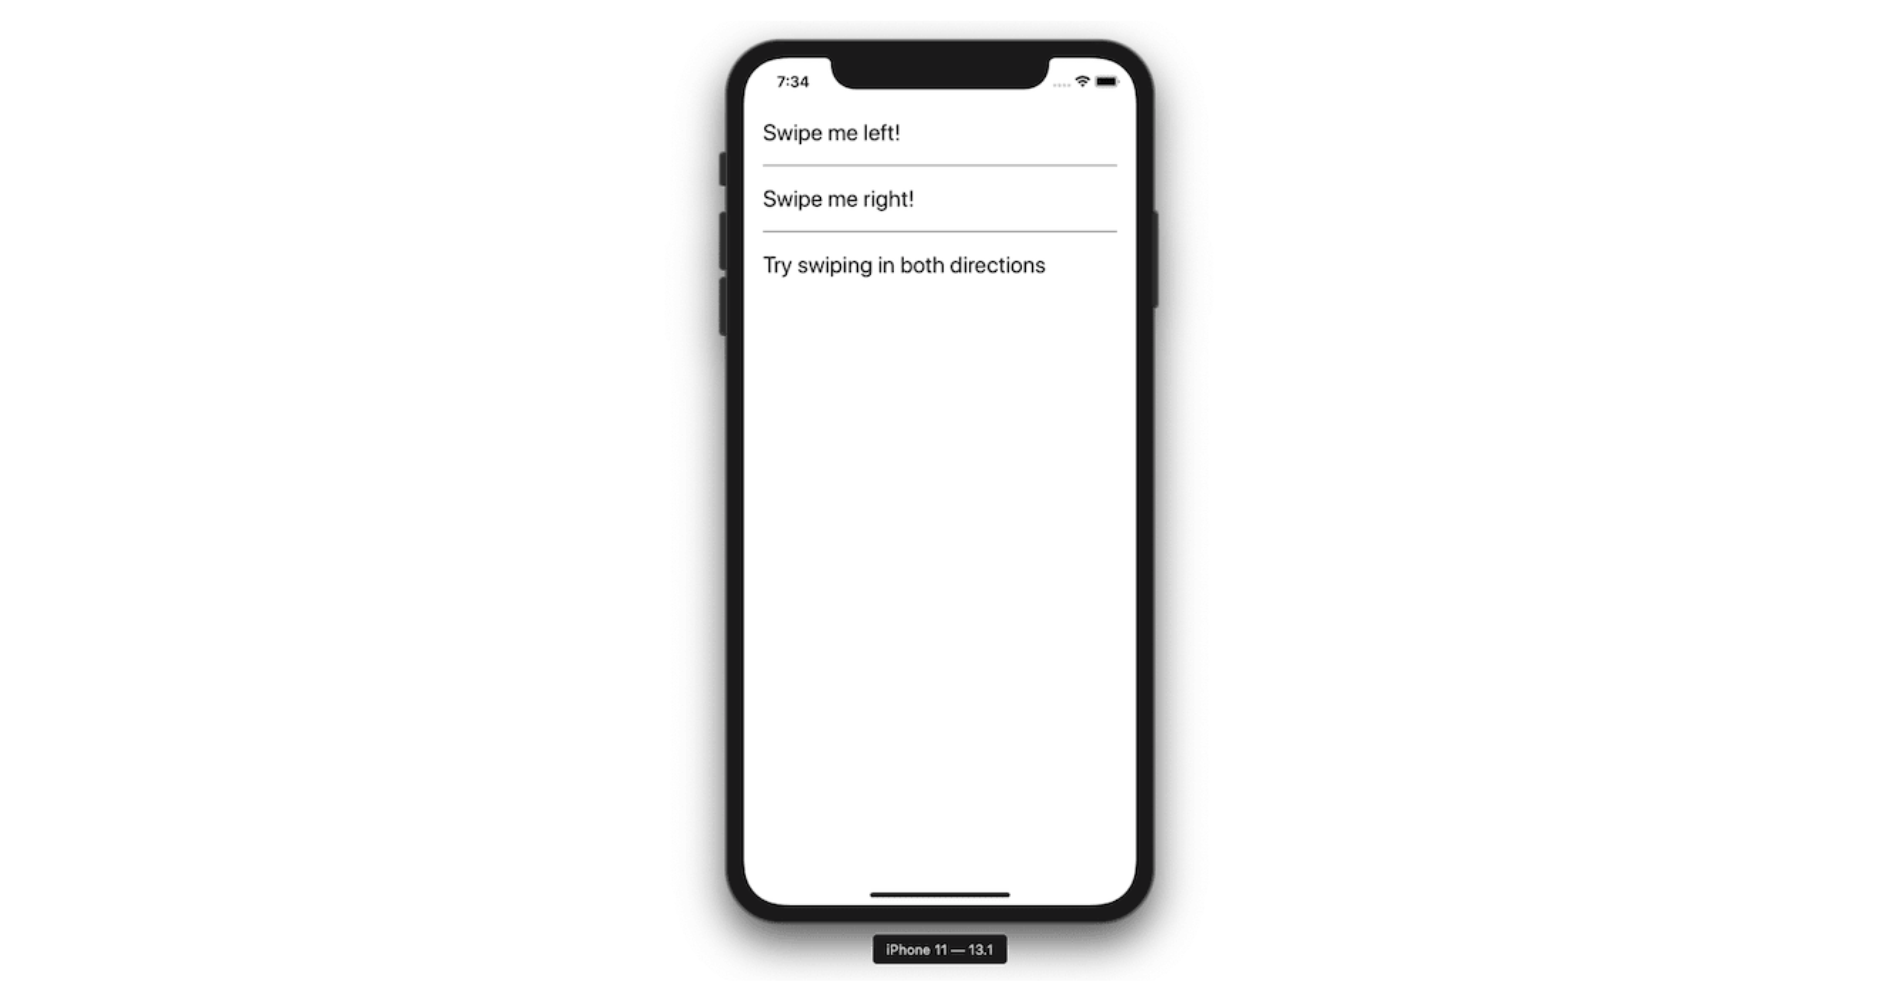
Adding react-native-gesture-handler
The react-native-gesture-handler supports both react-native CLI projects and Expo projects. To install it, execute the below command:
yarn add react-native-gesture-handler
Since we are using react-native CLI on this demo, only Android users have to add the following configuration to the MainActivity.java file:
package com.swipegesturesdemo;

import com.facebook.react.ReactActivity;
import com.facebook.react.ReactActivityDelegate;
import com.facebook.react.ReactRootView;
import com.swmansion.gesturehandler.react.RNGestureHandlerEnabledRootView;

public class MainActivity extends ReactActivity {

/**
* Returns the name of the main component registered from JavaScript. This is used to schedule
* rendering of the component.
*/
@Override
protected String getMainComponentName() {
return "swipeGesturesDemo";
}

@Override
protected ReactActivityDelegate createReactActivityDelegate() {
return new ReactActivityDelegate(this, getMainComponentName()) {
@Override
protected ReactRootView createRootView() {
return new RNGestureHandlerEnabledRootView(MainActivity.this);
}
};
}
}
For iOS users, navigate to the iOS/ directory from the terminal and run pod install.
Now, everything should be set up. Run the build command once again, either react-native run-ios or react-native run-android.
You won't see any new changes inside the app for now, but if it renders correctly, as in our previous step, everything works according to our expectations.
The Swipeable Component
To implement swipeable rows, import the Swipeable component inside the App.js file.
import Swipeable from 'react-native-gesture-handler/Swipeable'
This component will wrap around the component that handles actions based on swipe gestures. Looking back at the App.js file, it is the View rendered by the ListItem component.
const ListItem = ({ text }) => (
 <Swipeable renderLeftActions={LeftActions}>
   <View style={{ paddingVertical: 20 }}>
     <Text style={{ fontSize: 24, paddingHorizontal: 10 }}>{text}</Text>
   </View>
 </Swipeable>
)
The Swipeable component has many properties, including the one used in the above code snippet: renderLeftActions.
This method returns an action panel when the user swipes right on the list item. When the swipe happens, if an action is associated, it reveals itself. For example, an action would be a button pressed on touch.
To make it more useful, let us define the custom component LeftActions.
const LeftActions = () => {
 return (
   <View
     style={{ flex: 1, backgroundColor: 'blue', justifyContent: 'center' }}>
     <Text
       style={{
         color: 'white',
         paddingHorizontal: 10,
         fontWeight: '600'
       }}>
       Left Action
     </Text>
   </View>
 )
}
Below is a demo of what you have done so far:

Animating the Swipeable Component
Using React Native's Animated API, you can add animations. LeftActions has two arguments:
Progress: The amount that has been swiped
dragX: This determines how far the drag happens
Using interpolation you can scale the values of the input and output ranges.
The reason to specify these values is that the input range cannot descend. It always has to ascend starting from somewhere (not necessarily 0). It can be a negative value (which you will see later when defining the right swipeable gesture).
Using the extrapolate property together with input and output ranges, the curve would not go beyond the two ranges provided.
Here is the complete code snippet for the LeftActions component so far.
// do not forget to import Animated from 'react-native'

import {
 SafeAreaView,
 StyleSheet,
 View,
 Text,
 StatusBar,
 FlatList,
 // add this
 Animated
} from 'react-native'

// LeftActions code snippet

const LeftActions = (progress, dragX) => {
 const scale = dragX.interpolate({
   inputRange: [0, 100],
   outputRange: [0, 1],
   extrapolate: 'clamp'
 })
 return (
   <View
     style={{ flex: 1, backgroundColor: 'blue', justifyContent: 'center' }}>
     <Animated.Text
       style={{
         color: 'white',
         paddingHorizontal: 10,
         fontWeight: '600',
         transform: [{ scale }]
       }}>
       Left Action
     </Animated.Text>
   </View>
 )
}
Note that the value provided for the input range is in pixels.
Here is how our demo looks now:

![jscrambler-blog-creating-swipeable-gestures-react-native-3]()
Without providing the extrapolate property, the result is not going to be as expected, nor will it look as in the above demo. It will keep on enlarging the text and look like this:
Building the Swipeable Component From the Right
We have covered the basics of what LeftActions does and its combination with Animated API that provides a usable feature. Move on to adding some actions to these swipeable gestures.
In emailing apps or messaging apps like WhatsApp, you often get two different actions coupled together when you swipe right. Using the same knowledge, try to create it on the right swipe. First, provide renderRightActions, which is similar in concept but works exactly the opposite to renderRightActions.
<Swipeable renderLeftActions={LeftActions} renderRightActions={RightActions}>
 {/*... Rest of the code remains same*/}
</Swipeable>
Next, create a RightActions component with the same set of arguments required for the Animated API. There are two actions to be defined with their own set of View components.
const RightActions = (progress, dragX) => {
 const scale = dragX.interpolate({
   inputRange: [-100, 0],
   outputRange: [0.7, 0]
 })
 return (
   <>
     <View style={{ backgroundColor: 'red', justifyContent: 'center' }}>
       <Animated.Text
         style={{
           color: 'white',
           paddingHorizontal: 10,
           fontWeight: '600',
           transform: [{ scale }]
         }}>
         Delete
       </Animated.Text>
     </View>
     <View style={{ backgroundColor: 'green', justifyContent: 'center' }}>
       <Animated.Text
         style={{
           color: 'white',
           paddingHorizontal: 10,
           fontWeight: '600',
           transform: [{ scale }]
         }}>
         Archive
       </Animated.Text>
     </View>
   </>
 )
}
Here is a sneak peek into the swipe-right actions:
Did you notice any difference in the way they scale?
The inputRange and the outputRange values are now reversed since the user is swiping from right to left.
Conclusion
Swipeable is a component to explore when using the popular react-native-gesture-handler library.
I recommend you to go through its official documentation and methods and try other gestures.
Don't forget to pay special attention if you're developing commercial React Native apps with sensitive logic. You can protect them against code theft, tampering, and reverse engineering.
Jscrambler
The leader in client-side Web security. With Jscrambler, JavaScript applications become self-defensive and capable of detecting and blocking client-side attacks like Magecart.
View All ArticlesMust read next
Add a Search Bar Using Hooks and FlatList in React Native
FlatList is a component of the React Native API that allows fetching and displaying large arrays of data. In this tutorial, we use it to add a search bar.
August 28, 2020 | By Aman Mittal | 8 min read
How to use React Native Geolocation to get Postal Address
In this tutorial, let's learn how you can implement a feature to get the current location of a device in a React Native app. To do this we’ll be using an API provided by Expo.
February 25, 2021 | By Aman Mittal | 8 min read
