Getting Started With Relay
July 14th, 2016 | By João Carvalho | 4 min read

We know what you are thinking, what the heck is Relay and why do I care? Arenʼt there enough frameworks already?
Relay is a framework meant to complement both GraphQL and React. If you think about it, a lot of developer productivity goes towards fetching data. React is a nice way to think about the UI as separate components.
Each component has a clean-cut separation of concerns. The problem at hand is how you feed it data.
One can dream up any push-and-pull solution to do this. This may involve Ajax slapping with a framework or two. Or, you could bridge client-side components with Relay. If you are already knee-deep in React and GraphQL, Relay will offer a nice way to bridge the two.
In this take, let's walk through a quick way to get started with Relay. I will start from scratch and put in place a solution with Relay. We will cover each step of the way, so feel free to follow along.
What Is Relay?
I mentioned Relay is the bridge between React and GraphQL to fetch data. Turns out, there is a starter kit for Relay to get you off the ground.
First, clone the repo into the local dev environment with git clone.
Once cloned, the first thing is to install dependencies:
npm install
Phew, with 424 dependencies at the time of this writing. We are ready to update-schema:
npm run update - schema
Relay has to keep track of schema changes in GraphQL. This is one way it keeps an eye on the schema and bridges the data.
At the end, let's start the web server.
npm start
If all goes well with your local machine, you should see this nice little demo: So far, we have the Relay starter kit working. The next step is to create our schema.
GraphQL API
For the schema, I am thinking of a list of ferocious cats. Inside data\schema draw up an image field in the widgetType:
image: {
    type: GraphQLString,
    description: 'An image of a cat'
}
GraphQL is a declarative, strong-typed, and product-centric query language. Notice the GraphQLString type for the image. Feel free to leave the rest of the widget intact. As far as fields, we still need an ID, name, and an image.
It is time to fill up the GraphQL with data. Go to data\database and fill this GraphQL schema with new data:
const imageUrl = [
    'http://bit.ly/28WswxC',
    'http://bit.ly/28VXOoZ',
    'http://bit.ly/2919Fo6'
];

var widgets = ['Panther', 'Cougar', 'Lion'].map((name, i) = & gt; {
    var widget = new Widget();

    widget.name = name;
    widget.id = `${i}`;
    widget.image = imageUrl[i];

    return widget;
});
This grabs the list of cat names and iterates with a map. Gives it an ID based on the index i and a URL that comes from imageUrl. The imageUrl is an array with a list of images for each cat.
We are ready to test the new schema changes, type this up in the console:
npm run update - schema
npm start
With data and schema changes complete, feel free to check out the commit. Since I practice extreme programming, clean up unnecessary code in another commit.
React Component
For the front end, Relay creates a bridge to React components through a container. A container defines a viewer with a GraphQL declarative query to feed it data. Below is what the container looks like:
Relay.createContainer(App, {
    fragments: {
        viewer: () = & gt;Relay.QL `
fragment on User
widgets(first: 10)
edges
node
id,
name,
image
}
}
}
}
`
    }
});
Here Relay.QL defines a GraphQL query on what data to expect. If you glance at it, notice we are only interested in the first 10 widgets. It needs to know what to return, so tell it we want the ID, name, and image of each ferocious cat. The rest gets fetched by Relay, no funky XHR coding is necessary.
With the data fetching complete, it is time to wire up React. I have an App React component ready to make use of this data. So let's build the list of cats:
<h1>Ferocious Cats</h1>
<ul>
    <ul>{this.props.viewer.widgets.edges.map(edge =>
        <li>
            <h3>{edge.node.name}</h3>
            <img alt="{edge.node.name}" src="{edge.node.image}"
                       width="200px" />
        </li>
    </ul>
</ul>
)}
This leverages the JSX syntax. As shown, take the results from the Relay container and use it. Relay makes this complex data fetching seamless.
The front end is complete, feel free to check out the commit from this little hackathon.
A Final Demo
With both the back end and front end complete. It is time to fire up the demo, this time just start the server:
npm start
You will notice that webpack picks up all the changes and bundles them up. At the end, you should see this little demo: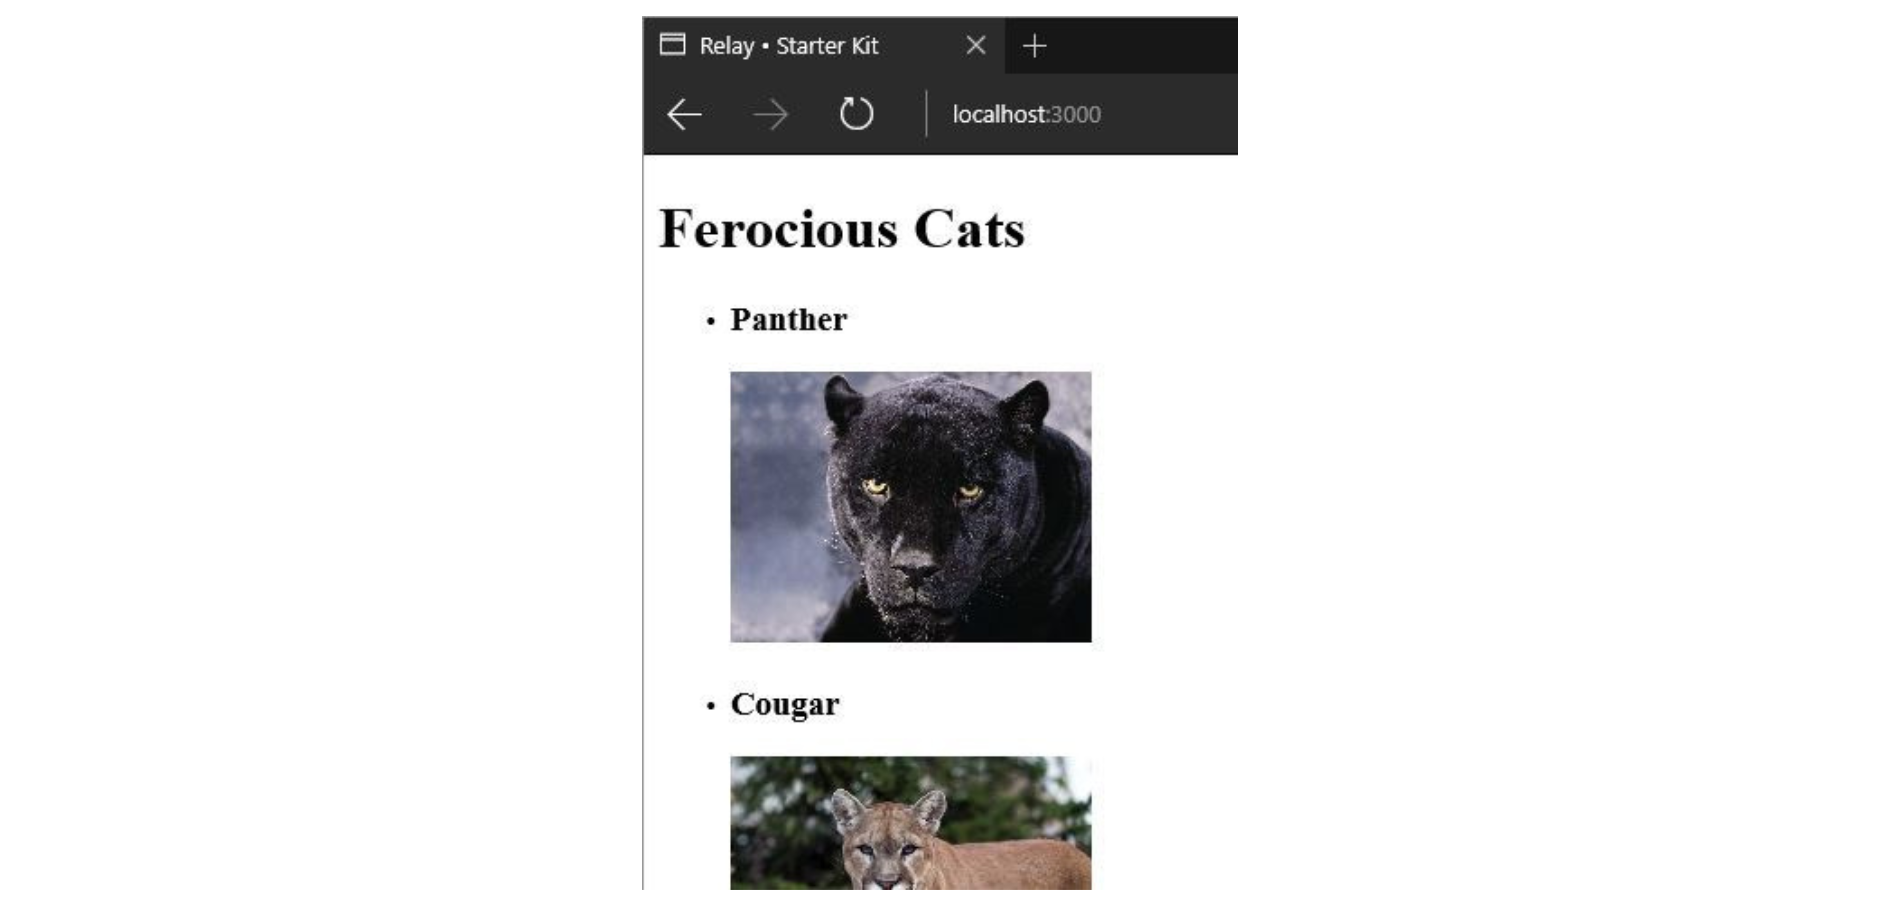 This wraps up the demo. If you open up the network tab in the browser, notice the graphql Ajax request that gets the data. All this happens behind the scenes for you with no extra coding. If you examine the JSON it gets back, all the data you need to render each component is in this request.
I encourage you to leave the dev tools open in the browser. Go through the HTML that gets rendered. Check out the rest of the requests in the network tab.
As shown, Relay leverages React and GraphQL and brings it all together. It gives you a nice layer of abstraction on top that bridges these two. Facebook open-sourced Relay circa August 2015 and it is gaining traction.
I hope this guide gives you what you need to get started with Relay.
Jscrambler
The leader in client-side Web security. With Jscrambler, JavaScript applications become self-defensive and capable of detecting and blocking client-side attacks like Magecart.
View All ArticlesMust read next
Getting Started with Angular 2
Angular 2 has been built to be completely decoupled from the DOM, meaning that developers can use the framework to build more than just web applications.
November 10, 2016 | By Thomas Greco | 6 min read
Getting Started with Riot.js
Riot.js takes many of the good parts of React.js and makes it even simpler. In this blog post, learn how to get a functional application up and running.
May 2, 2017 | By Lamin Sanneh | 9 min read
