How to Create Angular Reusable Components
May 5th, 2021 | By Jay Raj | 7 min read

Today, we have a step-by-step tutorial on reusable Angular components to reduce build time.
When we talk about code, reinventing the wheel isn't necessary. We create reusable pieces of code.
Using that reusable code saves time, which helps finish the app faster without sacrificing quality. Moreover, since you are using the same piece of code, it's also easier to test it.
To start the process, we will use a list of employees, but you can use any other kind of data.
Creating components in Angular
First, install the Angular CLI.
npm install -g @angular/cli
Once you have installed the Angular CLI, create a new Angular project using the CLI.
ng new angular-pro
Navigate to the project directory and start the Angular app.
cd angular-pro
npm start
You will have the Angular application running at localhost:4200. By default, AppComponent is in the boilerplate code.
Let's add some dummy data to the app.component.ts file.
import { Component } from '@angular/core';

@Component({
 selector: 'app-root',
 templateUrl: './app.component.html',
 styleUrls: ['./app.component.css']
})
export class AppComponent {
 title = 'angular-pro';

 data = [{
   name : 'Sam Johnson',
   dept : 'Electrical'
 },{
   name : 'Roy Thomas',
   dept : 'Mechanical'
 },{
   name : 'Jim Lasker',
   dept : 'Medical'
 }]
}
To make the application appealing, add Bootstrap to the Angular project. From the Angular CLI, execute the following command:
npm install bootstrap jquery popper.js
Now add the Bootstrap scripts and CSS files to the angular.json file.
"styles": [
    "src/styles.css",
    "node_modules/bootstrap/dist/css/bootstrap.min.css"
    ],
"scripts": [
    "node_modules/jquery/dist/jquery.min.js",
    "node_modules/popper.js/dist/umd/popper.min.js",
    "node_modules/bootstrap/dist/js/bootstrap.min.js"
    ]
Let's render a list of the data you defined in the app.component.ts file. Add the following HTML code to the app.component.html file:
<div class="container margin-30">
  <div class="card">
    <div class="card-body">
      <ol class="list-group list-group-numbered">
        <li *ngFor="let item of data" class="list-group-item d-flex justify-content-between align-items-start">
          <div class="ms-2 me-auto">
            <div class="fw-bold font-fam">{{item.dept}}</div>
            {{item.name}}
          </div>
          <span class="badge bg-primary rounded-pill">14</span>
        </li>
      </ol>
    </div>
  </div>
</div>
Add the following code to the app.component.css file:
.margin-30{
    margin: 30px;
}

.font-fam{
    font-family: serif;
}
Save the above changes, and you'll see the list of employees based on the data in the app.component.ts file.
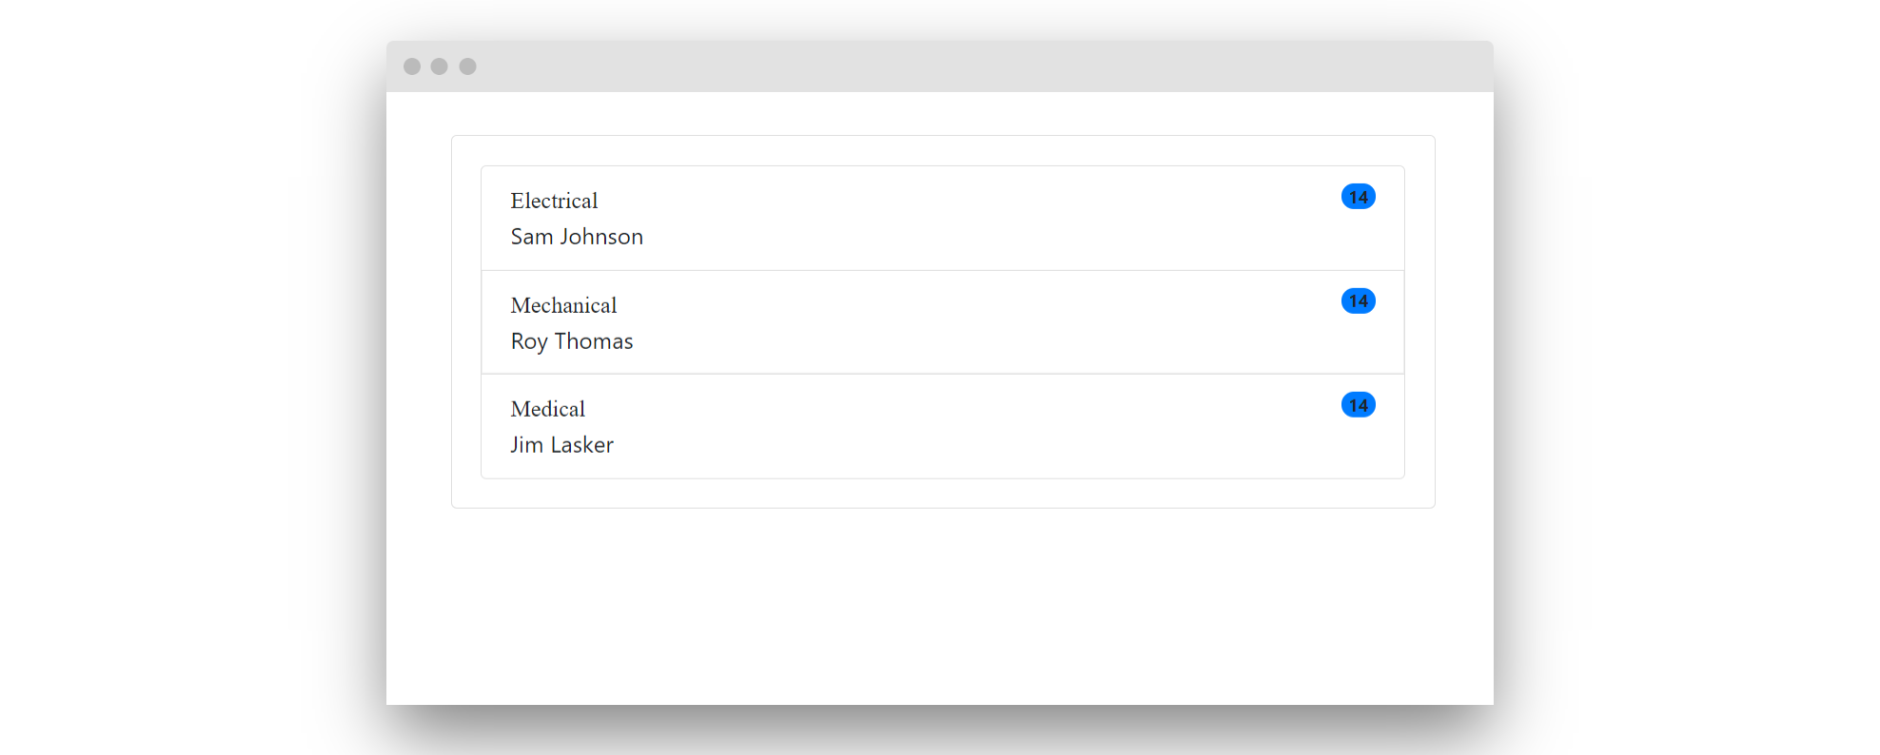
Creating a reusable Angular component
You just added some code to render a list of items. As you can see in the list presented above, the total count is presented next to each item. There might be scenarios where you don't need the count but rather the same list. So the same code works for you with a bit of modification.
Let's make the list rendering code reusable by creating a separate component altogether. The item count can be made configurable to display or hide as per need.
Create a new component using the Angular CLI.
ng g component dataList
It will create a new component inside the app/data list called DataListComponent.
Move the app.component.html and the app.component.css codes to data-list.component.html and data-list.component.css, respectively.
For the time being, let's also move the data to data-list.component.ts. Eventually, you'll be passing the data to the component using the @Input decorator.
import { Component, OnInit } from '@angular/core';

@Component({
  selector: 'app-data-list',
  templateUrl: './data-list.component.html',
  styleUrls: ['./data-list.component.css']
})
export class DataListComponent implements OnInit {

  data = [{
    name : 'Sam Johnson',
    dept : 'Electrical'
  },{
    name : 'Roy Thomas',
    dept : 'Mechanical'
  },{
    name : 'Jim Lasker',
    dept : 'Medical'
  }];

  constructor() { }

  ngOnInit(): void {

  }
}
Save the changes and reload your Angular application. You won't be able to see the data list rendered.
You created an Angular component to render the list. But for it to render, you need to use the DataListComponent selector app-data-list in app.component.html.
<app-data-list></app-data-list>
Save the changes, and you'll be able to see the data list.
Understanding @Input and @Output in Angular
From the official documents:
A common pattern in Angular is sharing data between a parent component and one or more child components. You can implement this pattern by using the @[Input]() and @[Output]() directives.
Now, let's make it reusable by passing in data to the Angular component. You can use the @Input decorator for passing data to the component.
Let's start by defining the @Input decorator inside the DataListComponent component.
import { Component, Input, OnInit } from '@angular/core';

@Component({
  selector: 'app-data-list',
  templateUrl: './data-list.component.html',
  styleUrls: ['./data-list.component.css']
})
export class DataListComponent implements OnInit {

  @Input() data;
  @Input() showCount = false;

  constructor() { }

  ngOnInit(): void {

  }
}
As seen in the above code, you have defined two @Input decorators, one for passing the data to render and another, a Boolean, to decide whether to show count info.
In the data-list.component.html modify the HTML to configure the data as per the @Input parameters.
<div class="container margin-30">
    <div class="card">
      <div class="card-body">
        <ol class="list-group list-group-numbered">
          <li *ngFor="let item of data" class="list-group-item d-flex justify-content-between align-items-start">
            <div class="ms-2 me-auto">
              <div class="fw-bold font-fam">{{item.dept}}</div>
              {{item.name}}
            </div>
            <span *ngIf="showCount" class="badge bg-primary rounded-pill">14</span>
          </li>
        </ol>
      </div>
    </div>
  </div>
Modify the app.component.html file to pass the @Input decorators to the reusable child component.
<app-data-list  [data]="data1"  [showCount]="true"></app-data-list>

<app-data-list  [data]="data2"></app-data-list>
Define data1 and data2 inside the app.component.ts file.
import { Component } from '@angular/core';

@Component({
  selector: 'app-root',
  templateUrl: './app.component.html',
  styleUrls: ['./app.component.css']
})
export class AppComponent {
  title = 'angular-pro';

  data1 = [{
    name : 'Sam Johnson',
    dept : 'Electrical'
  },{
    name : 'Roy Thomas',
    dept : 'Mechanical'
  },{
    name : 'Jim Lasker',
    dept : 'Medical'
  }];

  data2 = [{
    name : 'Johnson',
    dept : 'Physics'
  },{
    name : 'Thomas',
    dept : 'Chemistry'
  },{
    name : 'Lasker',
    dept : 'Biology'
  }];

}
Save the above changes, and you will be able to see two lists of data rendered.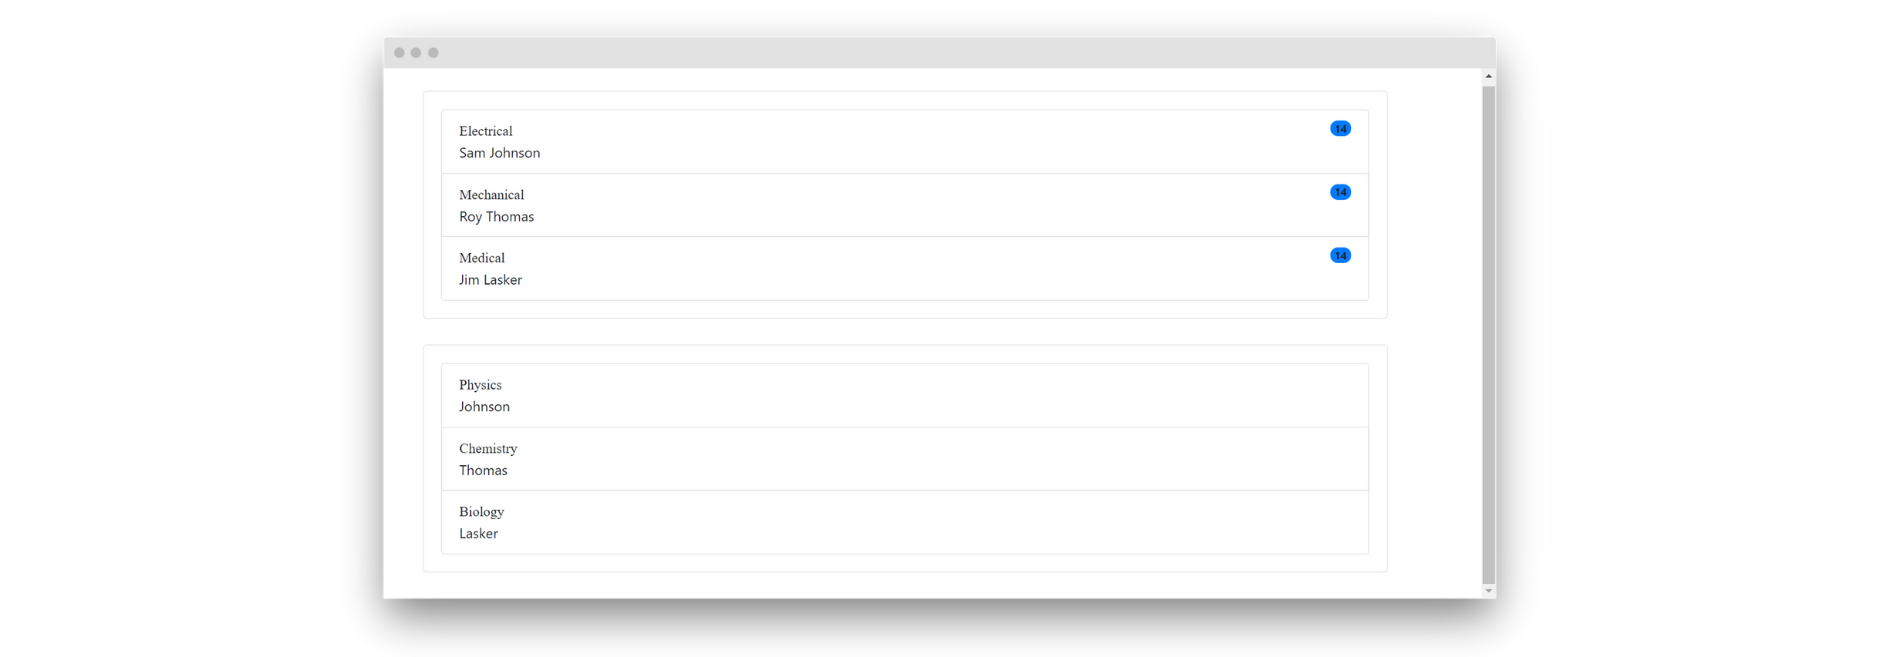
Next, let's add a counter to get the count of all the data being displayed. Each of the DataListComponents will check for the count of data and return it to the parent component.
The parent component will sum up the count of data returned from each component and display it.
You can make use of the @Output decorator to emit the count of data. Let's define one inside the DataListComponent.
@Output() calCount = new EventEmitter<Number>();
Once the DataListComponent has been initialized, let's emit the data count using the calCount event emitter.
import { Component, EventEmitter, Input, OnInit, Output } from '@angular/core';

@Component({
  selector: 'app-data-list',
  templateUrl: './data-list.component.html',
  styleUrls: ['./data-list.component.css']
})
export class DataListComponent implements OnInit {

  @Input() data : [];
  @Input() showCount = false;
  @Output() calCount = new EventEmitter<Number>();

  constructor() { }

  ngOnInit(): void {
    this.calCount.emit(this.data.length);
  }

}
Modify the app.component.html file to include the event handler.
<div class="row">
  <div class="col-sm-12">
    <app-data-list (calCount)="calCount($event)" [data]="data1" [showCount]="true"></app-data-list>
  </div>
</div>

<div class="row">
  <div class="col-sm-12">
    <app-data-list (calCount)="calCount($event)" [data]="data2"></app-data-list>
  </div>
</div>
Once the calCount emitter emits the data length, it will be received in the calCount receiver method, which we need to define inside the app.component.ts file.
import { Component } from '@angular/core';

@Component({
  selector: 'app-root',
  templateUrl: './app.component.html',
  styleUrls: ['./app.component.css']
})
export class AppComponent {
  title = 'angular-pro';

  totalCount = 0;

  data1 = [{
    name : 'Sam Johnson',
    dept : 'Electrical'
  },{
    name : 'Roy Thomas',
    dept : 'Mechanical'
  },{
    name : 'Jim Lasker',
    dept : 'Medical'
  }];

  data2 = [{
    name : 'Johnson',
    dept : 'Physics'
  },{
    name : 'Thomas',
    dept : 'Chemistry'
  },{
    name : 'Lasker',
    dept : 'Biology'
  }];

  calCount(count){
    this.totalCount = this.totalCount + count;
  }
}
Let's also show the totalCount variable inside the app.component.html file. Here is how the final app.component.html looks:
<div class="row">
  <div class="col-sm-12">
    <app-data-list (calCount)="calCount($event)" [data]="data1" [showCount]="true"></app-data-list>
  </div>
</div>

<div class="row">
  <div class="col-sm-12">
    <app-data-list (calCount)="calCount($event)" [data]="data2"></app-data-list>
  </div>
</div>

<div class="row">
  <div class="col-sm-9 count-text">
    Total Data Count ::
  </div>
  <div class="col-sm-3 count-text">
    <span>
      {{totalCount}}
    </span>
  </div>
</div>
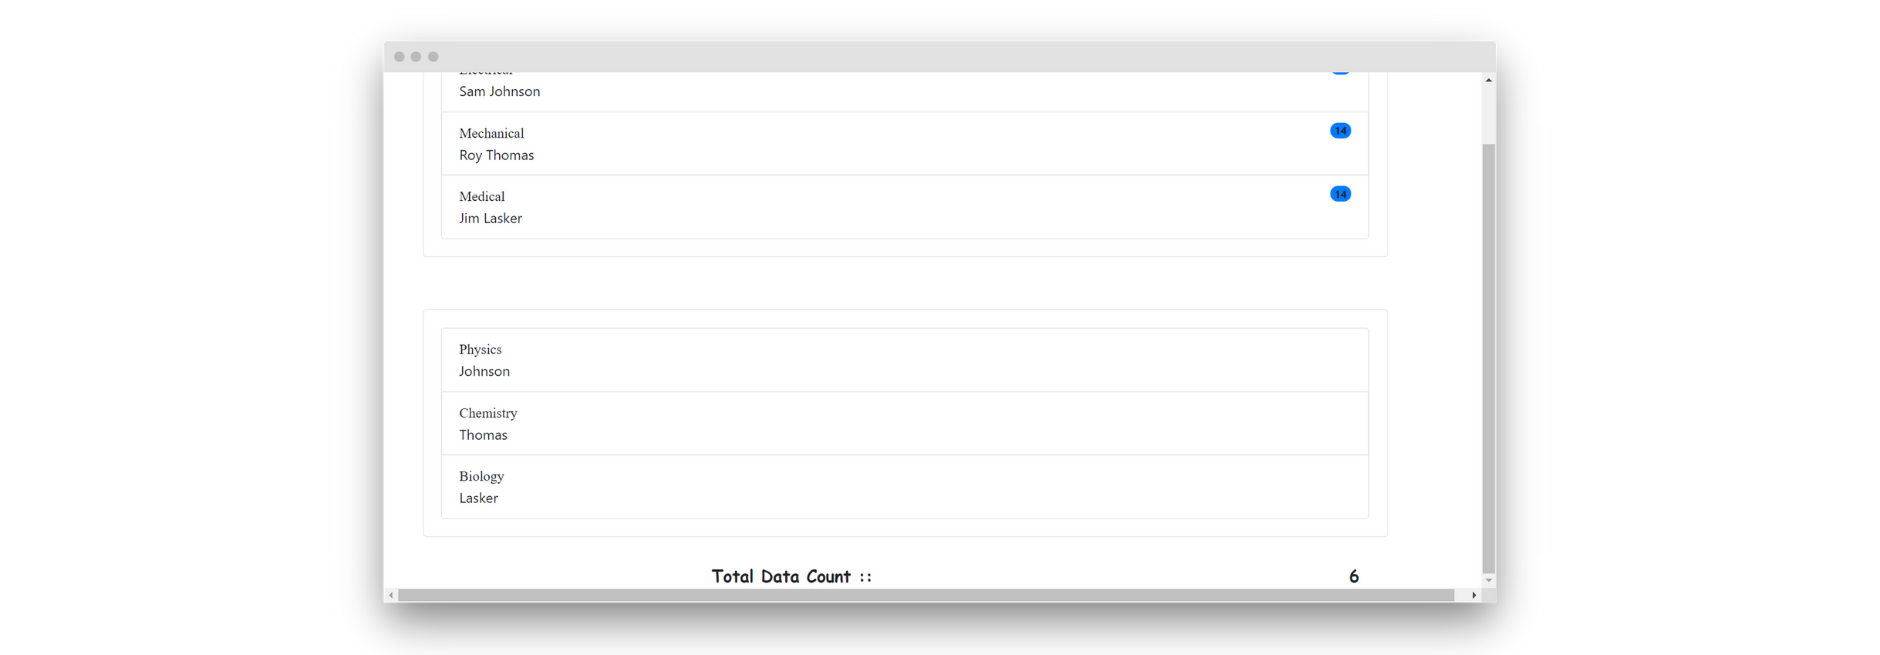
Save the changes to see the two data lists and their total count rendered in the application.
Wrapping it up
Not all pieces of code are reusable, but some can be used across the same application.
In this tutorial, you learned how to create reusable Angular components and how to use the @Input and @Output decorators in the process.
The source code for this tutorial is available on GitHub.
Jscrambler
The leader in client-side Web security. With Jscrambler, JavaScript applications become self-defensive and capable of detecting and blocking client-side attacks like Magecart.
View All ArticlesMust read next
Building an app with Angular & Firebase
In this tutorial, you will learn how to build a basic CRUD app using Angular and Firebase
August 26, 2021 | By Jay Raj | 11 min read
Getting Started with Observables in Angular
Let's put Angular Observables under the microscope - understanding how they handle data streams and seeing them in action in some example scenarios!
November 27, 2019 | By Ajdin Imsirovic | 6 min read
How to Update Child and Parent Components in React.js
In this tutorial, we’ll explore how to update component states in a React application, focusing on two specific scenarios: updating a parent component's state from a child component and updating a...
February 4, 2025 | By Jay Raj | 12 min read
