Creating a Modal notification with Vue SweetAlert
April 16th, 2024 | By Ezekiel Lawson | 8 min read

While the JavaScript Popup box has been the solution for creating a prompt notification, these popup windows can display crucial messages, confirmations, warnings, and other information. However, effortlessly applying them necessitates using the appropriate tools and procedures. Vue Sweetalert enters the picture as an aid for developers at this point.
Vue Sweetalert is a simple plugin that connects with Vue.js applications, allowing developers to create pleasing and configurable modal notifications easily.
This article will teach us how to create a responsive and customizable modal using the Vue plugin SweetAlert and the fundamentals of JavaScript Popup-box before moving on to the plugin to assist us in understanding how it works.
What is Vue Sweetalert
Vue Sweet Alert is a JavaScript library that simplifies the creation of customizable popup messages and modal dialogs. It is a versatile alternative to traditional JavaScript popup boxes and functions as a wrapper component with server-side rendering (SSR) support.
Furthermore, Vue SweetAlert empowers us to showcase a wide range of popup messages, including success notifications, error alerts, confirmations, and more, all while allowing us to tailor styling and content to our specific needs. This flexibility enables us to craft engaging and visually appealing popup dialogs on our websites.
Creating a Basic Modal Notification with Javascript
Before we delve into integrating SweetAlert into our application, let's take a moment to explore basic code examples of the three types of popup boxes that JavaScript offers. These popup boxes are alert boxes, prompt boxes, and confirm boxes. Let's dive into the code examples to see how they work:
        <script>
            // Example of an alert box
            function showAlert() {
                alert("This is an alert box. Click OK to continue.");
            }
            // Example of a prompt box
            function showPrompt() {
                const result = prompt("Please enter your name:", "");
                if (result !== null) {
                    alert("Hello, " + result + "! You entered your name.");
                }
            }
            // Example of a confirm box
            function showConfirm() {
                const isConfirmed = confirm("Are you sure you want to proceed?");
                if (isConfirmed) {
                    alert("You clicked OK!");
                } else {
                    alert("You clicked Cancel!");
                }
            }
        </script>
    <div>
        <button onclick="showAlert()">Show Alert Box</button>
        <button onclick="showPrompt()">Show Prompt Box</button>
        <button onclick="showConfirm()">Show Confirm Box</button>
    </div>
The code example above illustrates the functionality of JavaScript popup boxes, showcasing how they operate differently in various scenarios. Feel free to copy and paste the code into your code editor or development environment to observe the results firsthand. This hands-on experience will give you a clear understanding of how these popup boxes function before moving to a new alternative called SweetAlert.
Setting Up Development Environment
The initial action outlined in this post involves creating a new Vue project. To begin, open a terminal, locate the directory where you would like the new project to be created, and run the following command:
npm init vue@latestAfterward, we will receive a prompt message requesting confirmation for specific additional dependencies we intend to include in our project. The command provided will create a folder structure for our newly created project.
Integrating Vue Sweetalert in Vue Project
The next step is to install and configure sweetalert in our Vue project so we can get started. Navigate to the new project we created and use the following command to set sweetalert in our new project:
npm install -S vue-sweetalert2or
Yarn add vue-sweetalert2In addition to installing SweetAlert through the npm package, we can use our project's CDN file for quick integration. There is also a separate stylesheet file available that we can include if required.
Let's move on to the next phase, setting up SweetAlert in our Vue project to begin using it. Go to the recently created project and copy and paste the following code into our main.js file to enable it to work.
import './assets/main.css'

import { createApp } from 'vue'
import App from './App.vue'

import VueSweetalert2 from 'vue-sweetalert2';
import 'sweetalert2/dist/sweetalert2.min.css';

const app = createApp(App);
app.use(VueSweetalert2);
app.mount('#app');
In the code example above, we imported SweetAlert styles to ensure an appealing design for our popup box. Without these styles, the content within the popup box may appear disorganized.
Creating a Modal notification with Vue Sweetalert
Now that we have successfully integrated the SweetAlert library into our project let's explore how it functions. In our following example, we will begin with a simple model and then delve into customizing it to create a distinct appearance. To do that, we will create a new file and copy this code into the file created:
    <template>
        <button @click="showAlert">Close browser</button>
    </template>
    <script>
    export default {
      methods: {
        showAlert() {
          this.$swal({
            title: 'Close all tabs ?',
            text: 'You have 8 tabs open in this browser window. If you close this browser you will lose all your tabs.',
            type: 'warning',
            showCancelButton: true,
            confirmButtonText: 'Close all',
            cancelButtonText: 'Cancel',
            showCloseButton: true,
            showLoaderOnConfirm: true
          })
        },
      },
    };
    </script>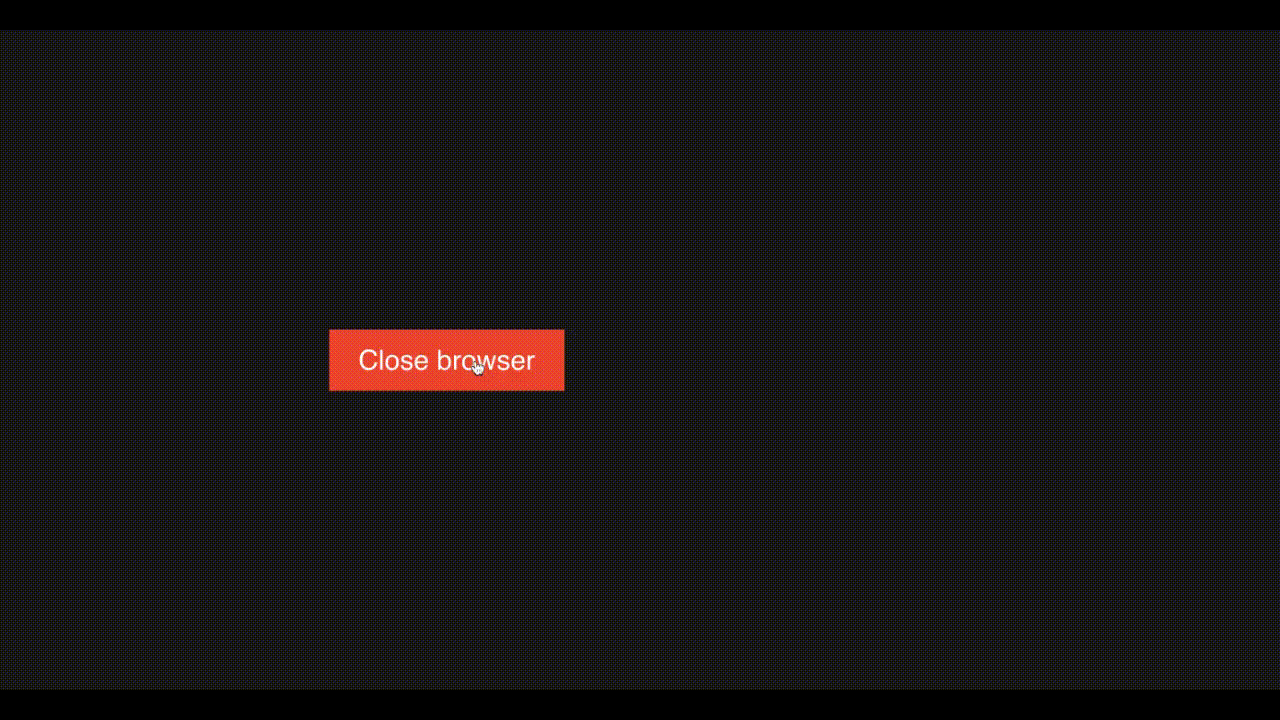
The following example will teach us to customize our popup box further by incorporating a conditional statement, an icon, and a tailored button. This hands-on demonstration will illustrate how to personalize popup notifications to meet specific requirements and enhance user interactions. To do that, copy the code below and replace it with the previous code example in the new file we created
    <template>
      <div class="wrapper">
        <button @click="showAlert">Delete file</button>
      </div>
    </template>

    <script>
    export default {
      methods: {
        showAlert() {
          this.$swal({
            title: 'Delete file?',
            text: 'Deleting this file will also delete it from our database.',
            type: 'warning',
            showCancelButton: true,
            confirmButtonColor: '#4CAF50',
            cancelButtonColor: '#f44336',
            confirmButtonText: 'Yes, delete this file',
            cancelButtonText: 'Cancel',
            showCloseButton: true,
            showLoaderOnConfirm: true
          }).then((result) => {
            if (result.value) {
              this.$swal('Deleted', 'You have successfully deleted this file, and it has been removed from our database.', 'success')
            } else {
              this.$swal('Cancelled', 'Your file has been saved', 'info')
            }
          })
        },
      }
    }
    </script>
The examples above show how easily we can integrate SweetAlert into our Vue project and create appealing modal notifications. SweetAlert can be used in many ways, such as when authenticating a user, for cookies display, and for newsletter apps. Generally, it is used for sharing popup messages or information with users.
Conclusion
SweetAlert provides many versatile functions, enabling us to craft highly customizable modal notifications. These capabilities include incorporating images, icons, GIF files, custom HTML tags, animations, and timers.
Each feature is crucial in helping us design visually appealing and engaging notifications.
To explore these functionalities in-depth, I encourage you to review the documentation to comprehensively understand what SweetAlert offers.
Jscrambler
The leader in client-side Web security. With Jscrambler, JavaScript applications become self-defensive and capable of detecting and blocking client-side attacks like Magecart.
View All ArticlesMust read next
Advanced Vue Features: Directives, Filters, and Mixins
Some more advanced Vue features can help you solve more specific code needs. In this tutorial, we explore directives, filters, and mixins.
April 13, 2020 | By John Au-Yeung | 9 min read
Creating a Functional Component in Vue.JS
In this article, you will learn how to create functional components in Vue.js.
September 30, 2022 | By Jscrambler | 4 min read
Build a Task Management App Using Vue.js and a Node.js Backend
This full-stack tutorial will guide you through creating a task management app with features to create, move, and update tasks.
April 30, 2019 | By Lamin Sanneh | 18 min read
