Svelte vs. React: Differences When Building the Same Web App
January 29th, 2020 | By Ahmed Bouchefra | 8 min read

Svelte vs. React: React is a popular JavaScript library for building user interfaces, while Svelte.js is a relatively new library for achieving the same things but with a different approach.
Svelte borrows some ideas from React and Vue.js but brings a specific approach to efficiency and performance. It gained momentum following the 2019 State of JavaScript survey, which awarded Svelte the Prediction Award.
Svelte is more of a compiler than a library. It runs at build time, compiling your components into plain JavaScript-efficient code.
In this article, we will build a simple example step-by-step using both tools.
Prerequisites
Start with the prerequisites needed for working with both React and Svelte.
Both libraries are based on JavaScript, so familiarity with the language is required alongside HTML and CSS.
You need to have both Node 8+ and npm installed on your machine. You can use nvm (macOS or Linux) or nvm-windows to install and switch between Node versions on your system.
Step 1: Installing React and Svelte
Let's install the create-react-app tool and degit for initializing React and Svelte projects.
Open a terminal and run the following commands:
npm install -g create-react-app
npm install -g degit
At the time of this writing, this will install create-react-app v3.3.0 and degit v2.2.2.
As we see, both React and Svelte have easy-to-install tools for quickly scaffolding new projects without the hassle of configuring any underlying build systems or tools.
Step 2: Initializing React and Svelte Projects
Next, we'll proceed by initializing both the React and Svelte projects.
Head back to your terminal and initialize a React project using the following command:
create-react-app reactnewsapp
Next, navigate to your project's folder and serve it using the following commands:
cd reactnewsapp
npm start
Your app will be available at http://localhost:3000/.
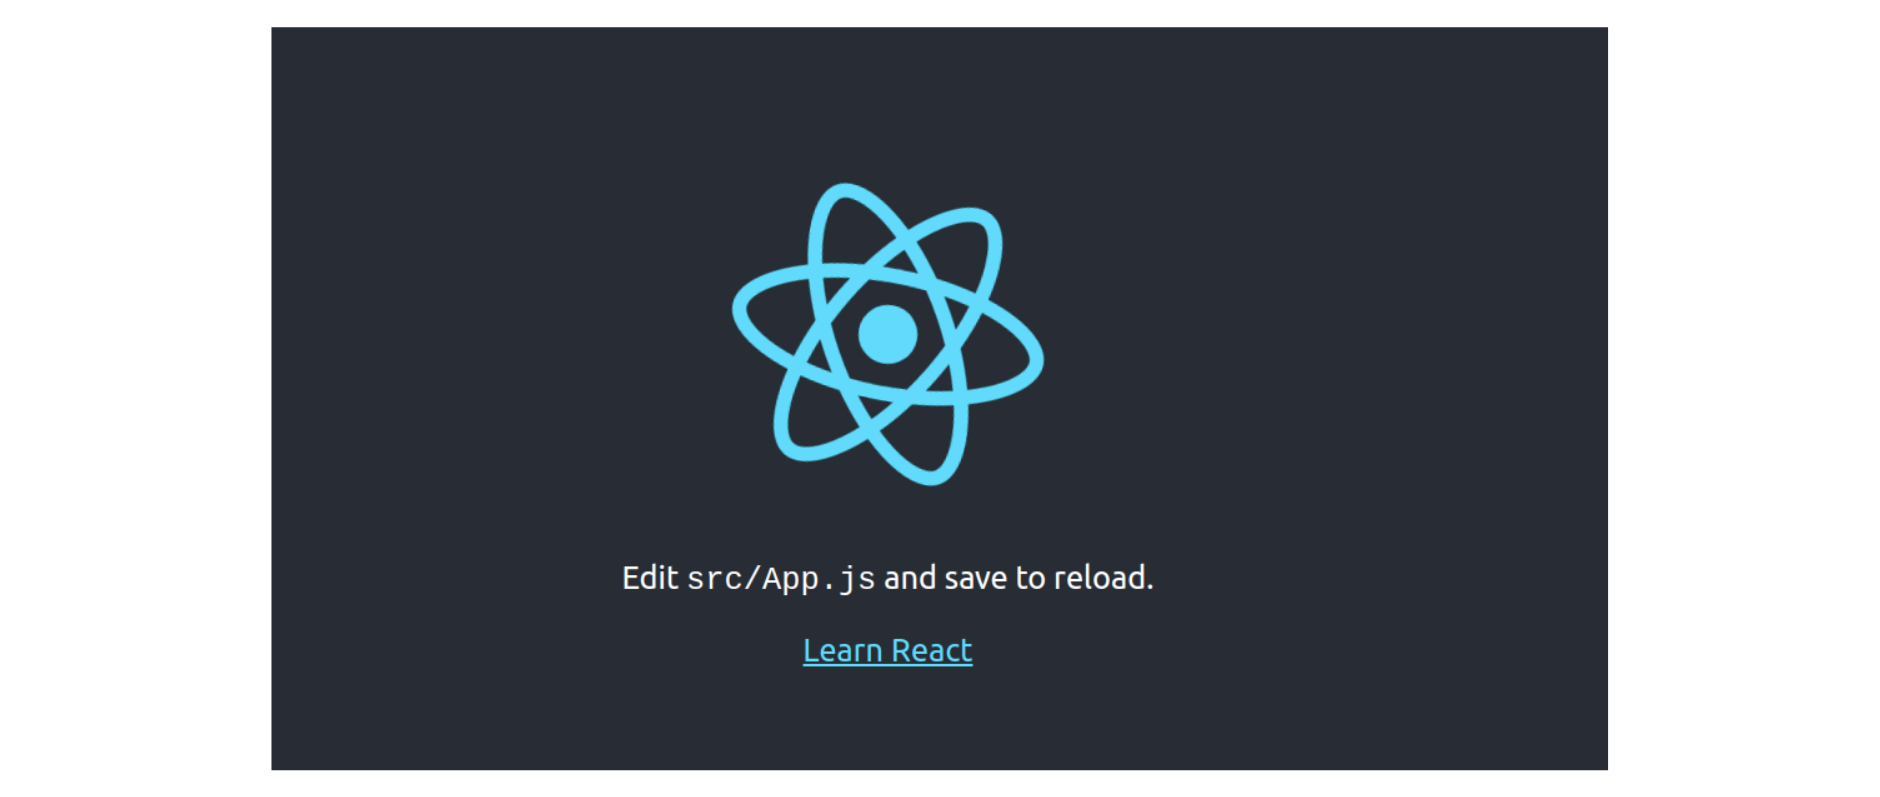
This is a screenshot of what the app should look like right now:
Next, let's initialize a Svelte app using the following command:
npx degit sveltejs/template sveltenewsapp
Next, navigate to your project's folder, install the dependencies, and run the development server as follows:
cd sveltenewsapp
npm install
npm run dev
You can access your app from http://localhost:5000/, and it should look like this:
Step 3: Understanding and Using Components
In modern front-end web development, a component refers to a reusable piece of code that controls a part of the app’s user interface.
In terms of code, it's made of a JavaScript class or function, HTML (optionally) for rendering the view, and CSS for styling the view.
Components are the building blocks of both React and Svelte applications.
In React, you create a component by declaring a class that extends React.Component, inside a typical JS file, that provides features for life-cycle events and states.
You can also use functions to create components and hooks to access state and replace life-cycle events in functional components.
In Svelte, you create a component by creating .svelte files, which contain a <script> tag, a <style> tag, and some markup, but all three sections are optional. They are more similar to .vue files in Vue.js.
Go to the Svelte project and open the src/App.svelte file, which has the following code:
<script>
	export let name;
</script>

<main>
	<h1>Hello {name}!</h1>
	<p>Visit the <a href="https://svelte.dev/tutorial">Svelte tutorial</a> to learn how to build Svelte apps.</p>
</main>

<style>
	main {
		text-align: center;
		padding: 1em;
		max-width: 240px;
		margin: 0 auto;
	}

	h1 {
		color: #ff3e00;
		text-transform: uppercase;
		font-size: 4em;
		font-weight: 100;
	}

	@media (min-width: 640px) {
		main {
			max-width: none;
		}
	}
</style>
You can also see that the component exports a name variable with the export keyword. This is how Svelte declares properties used to pass data from one component to its children.
Note: This is not how export works in JavaScript modules. This syntax is specific to Svelte.
Since our app is small, let's keep it simple and use the existing components to implement our functionality.
Step 4: Fetching and Displaying Data
Next, we'll see how to fetch and iterate over data in both React and Svelte.js.
Let's start with React. go to the src/App.js file and update it as follows:
import React from 'react';
import logo from './logo.svg';
import './App.css';

function App() {
  const apiKEY = "<YOUR-API-KEY>";
  const dataUrl = `https://newsapi.org/v2/everything?q=javascript&sortBy=publishedAt&apiKey=${apiKEY}`;

  const [items, setItems] = React.useState([]);

  const fetchData = async () => {


    	const response = await fetch(dataUrl);
    	const data = await response.json();
		  console.log(data);
      setItems(data["articles"]);


  };


  React.useEffect(() => {

    fetchData();

  }, []);


  return (
  <>
    <h1>
      Daily News
    </h1>
    <div className="container">

          {
            items.map(item => {

              return (
                			<div className="card">
                      <img src= { item.urlToImage } />
                      <div className="card-body">
                        <h3>{item.title}</h3>
                        <p> {item.description} </p>
                        <a href= { item.url } >Read</a>
                      </div>
                    </div>
              );
            })
          }
    </div>
    </>
  );
}

export default App;
If you’re following this tutorial, don’t forget to get your own API key from the News API website.
Open src/App.css and add the following CSS styles:
h1 {
	color: purple;
	font-family: 'kalam';
}
.container {
	display: grid;
	grid-template-columns: repeat(auto-fill, minmax(305px, 1fr));
	grid-gap: 15px;
}
.container > .card img {
	max-width: 100%;
}
Returning to your web browser, you should see an interface similar to this:
Now, let's build the same interface with Svelte. Open the src/App.svelte file.
Next, in the <script> tag, import the onMount() method from “svelte” and define the apiKEY, items, and dataUrl variables, which will hold the news API key, the fetched news articles, and the endpoint that provides data:
<script>
	import { onMount } from "svelte";

	const apiKEY = "<YOUR-API-KEY>";
	const dataUrl = `https://newsapi.org/v2/everything?q=javascript&sortBy=publishedAt&apiKey=${apiKEY}`;
    let items = [];
	const fetchData = async () => {


    	const response = await fetch(dataUrl);
    	const data = await response.json();
		console.log(data);
    	items = data["articles"];
    };

	onMount(fetchData());
</script>
Next, add the following markup just below the closing </script> tag:
<h1>
Daily News
</h1>

<div class="container">

		{#each items as item}
			<div class="card">
				<img src="{item.urlToImage}">
				<div class="card-body">
					<h3>{item.title}</h3>
					<p> {item.description} </p>
					<a href="{item.url}">Read</a>
				</div>
			</div>
		{/each}

</div>
Finally, add the styles below:
<style>
h1 {
	color: purple;
	font-family: 'kalam';
}
.container {
	display: grid;
	grid-template-columns: repeat(auto-fill, minmax(305px, 1fr));
	grid-gap: 15px;
}
.container > .card img {
	max-width: 100%;
}
</style>
In both React and Svelte, we declared the apiKEY and dataUrl variables to hold the API key and the URL of our API.
Next, in React, we created an item's state variable using the useState hook, but in Svelte, we simply defined the state variable using the typical JS let keyword because, in Svelte, variables are reactive states by default.
In both libraries, when the state changes, the component will re-render itself, except that in Svelte we don't need to use any special method to create a reactive state.
Next, in both examples, we defined an async fetchData() method that simply invokes the JavaScript Fetch API to fetch data from the third-party endpoint. When we receive that, in React, we need to use the setItems() method returned from the useState() hook to assign the data to the items array. But in the case of Svelte, we simply used the assignment operator in JavaScript.
Next, In React, we used the useEffect() hook to call our fetchData() method, which is used to perform any side effects in our components. Equivalently, we used the onMount() life-cycle method in Svelte to call the method when the component is mounted.
Next, we displayed the data in React using the built-in JS map() method inside the JSX syntax, which is a syntax extension to JavaScript used to describe the UI in React.
This is how React allows you to use the display markup written in HTML inside the same JS file holding the component code.
In Svelte, we use the same file, but the HTML code and JS code are more separate, and we can also access the variables defined in the JS code inside the HTML code.
We use each block to iterate over a list/array of data in Svelte.
You can learn about everything that Svelte can do on the official documents.
Step 5: Building Both Apps for Production
You can build your React and Svelte apps for production in easy steps.
Simply go to your terminal and run the following command for React:
npm run build
This will create a build folder with static content that you can host on your server.
Next, run the same command in your Svelte app, which will create a public/build folder with your static files.
And that's it! We've just created the same Web App with React and Svelte.
Conclusion
We have seen that both React and Svelte use the concept of components with states, life-cycle methods, and props, but in slightly different ways. And both libraries provide useful tools to quickly scaffold and work on projects.
However, keep in mind that behind the scenes they use different approaches: Svelte is actually a build-time compiler, while React is a library and run-time that make use of a virtual DOM.
Regardless of the library/framework you're using to develop web apps, don't forget that you should always protect their source code when you're building enterprise or commercial apps.
Check out our guide for protecting React apps and our tutorial on how to use the CLI to integrate Jscrambler.
Jscrambler
The leader in client-side Web security. With Jscrambler, JavaScript applications become self-defensive and capable of detecting and blocking client-side attacks like Magecart.
View All ArticlesMust read next
Svelte Routing with Page.js
Svelte is the up-and-coming framework in the JavaScript ecosystem. Let's learn how to set up routing using the handy Page.js library.
June 9, 2020 | By Ahmed Bouchefra | 4 min read
Authentication & Authorization in Web Apps
Identity and role management in Web Apps can get complicated. Plus, both are security-critical areas. Let's explore these concepts and some best practices.
April 2, 2020 | By Karan Gandhi | 9 min read
