Jscrambler 101 — First Use
September 3rd, 2024 | By Jscrambler | 8 min read

Last updated on September 3rd, 2024
Welcome to Jscrambler 101! A collection of tutorials on how to use Jscrambler to protect your JavaScript. These tutorials cover Jscrambler version 8.1.
Introduction
In this tutorial — First Use — you will be introduced to our interface and we will guide you through the process of making your first protection request. You will learn how to navigate the Web App, make different protections, and protect your own apps. In the final section, we'll also explain the first steps to using our command-line interface (CLI).
How to Access Your Dashboard
To start using Jscrambler, you have to sign in with the credentials you used to create your account. If you don't have a Jscrambler account, now is the time to create one by clicking Try Jscrambler for Free or going to the login page.
The first time you open Jscrambler's web app, you will see a callout message to click the Playground app. After clicking it, you will see a demo screen as shown below:
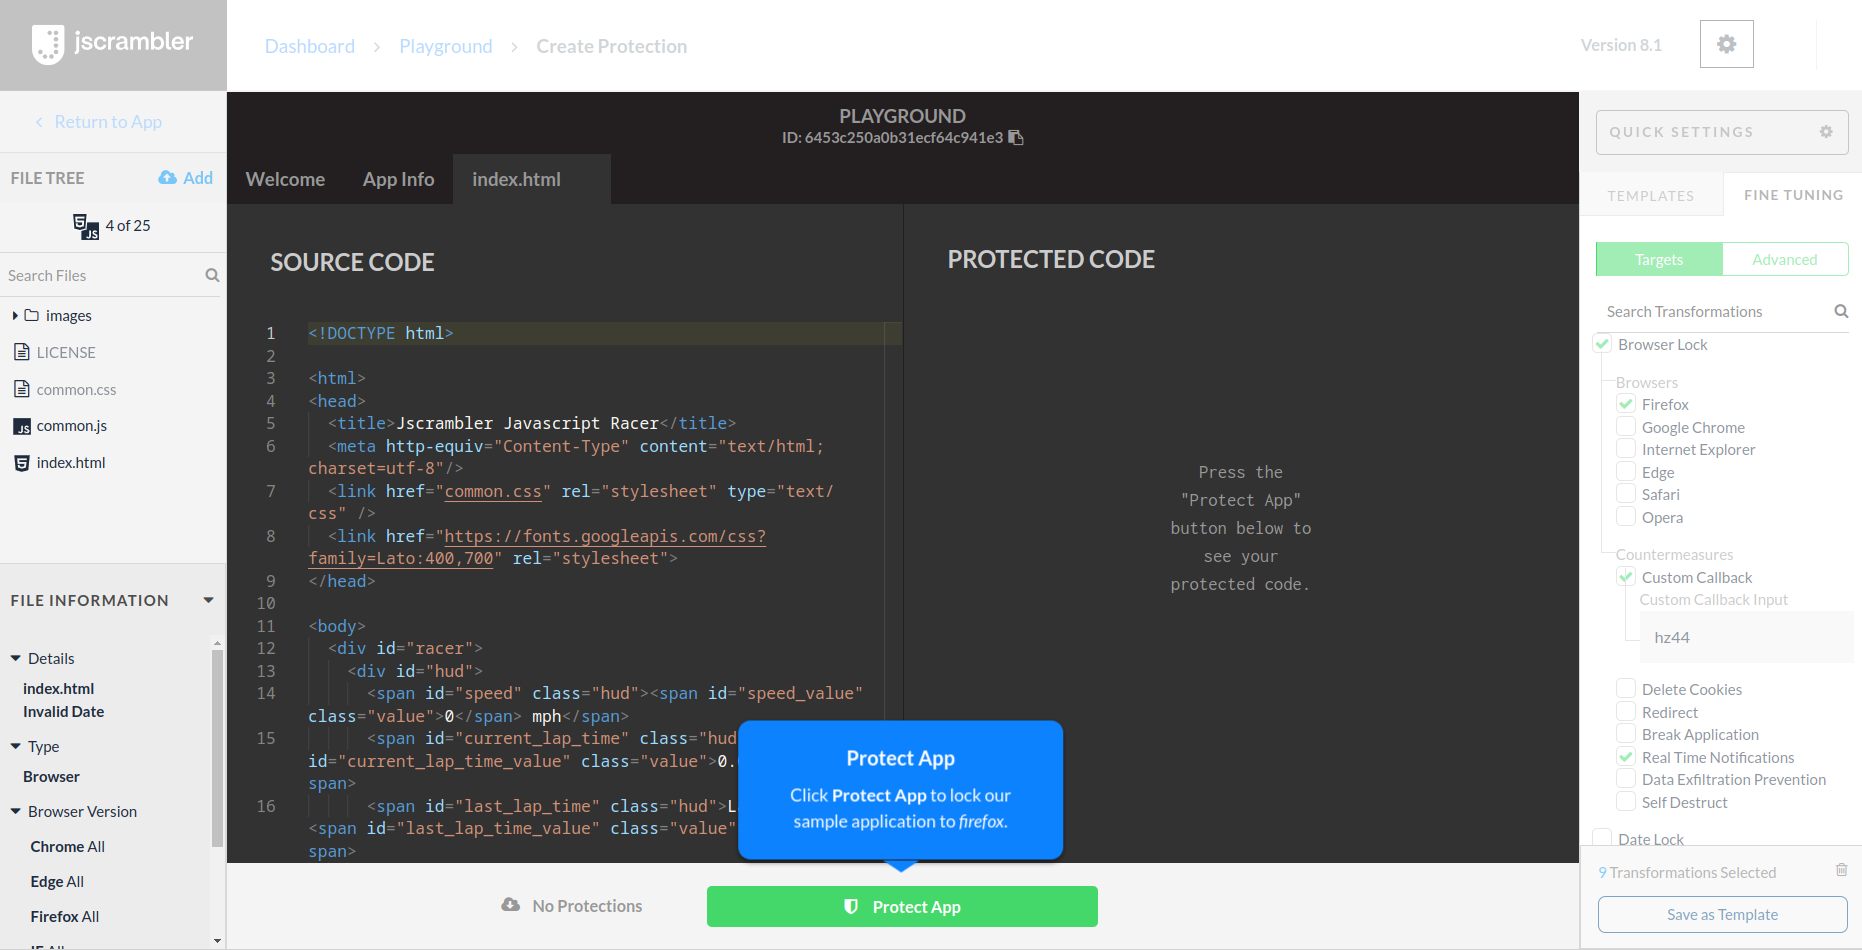
In this demo, you have a sample code shown on the left side of the text editor. Follow the message bubble and click the Protect App button. Jscrambler will apply for code lock protection with real-time notifications, preventing the app from running on any browser except the allow-listed one.
Now, you will be prompted to run your newly protected app. When you run it, our HTML5 racing game will attempt to run in your current browser, which will trigger the code lock.
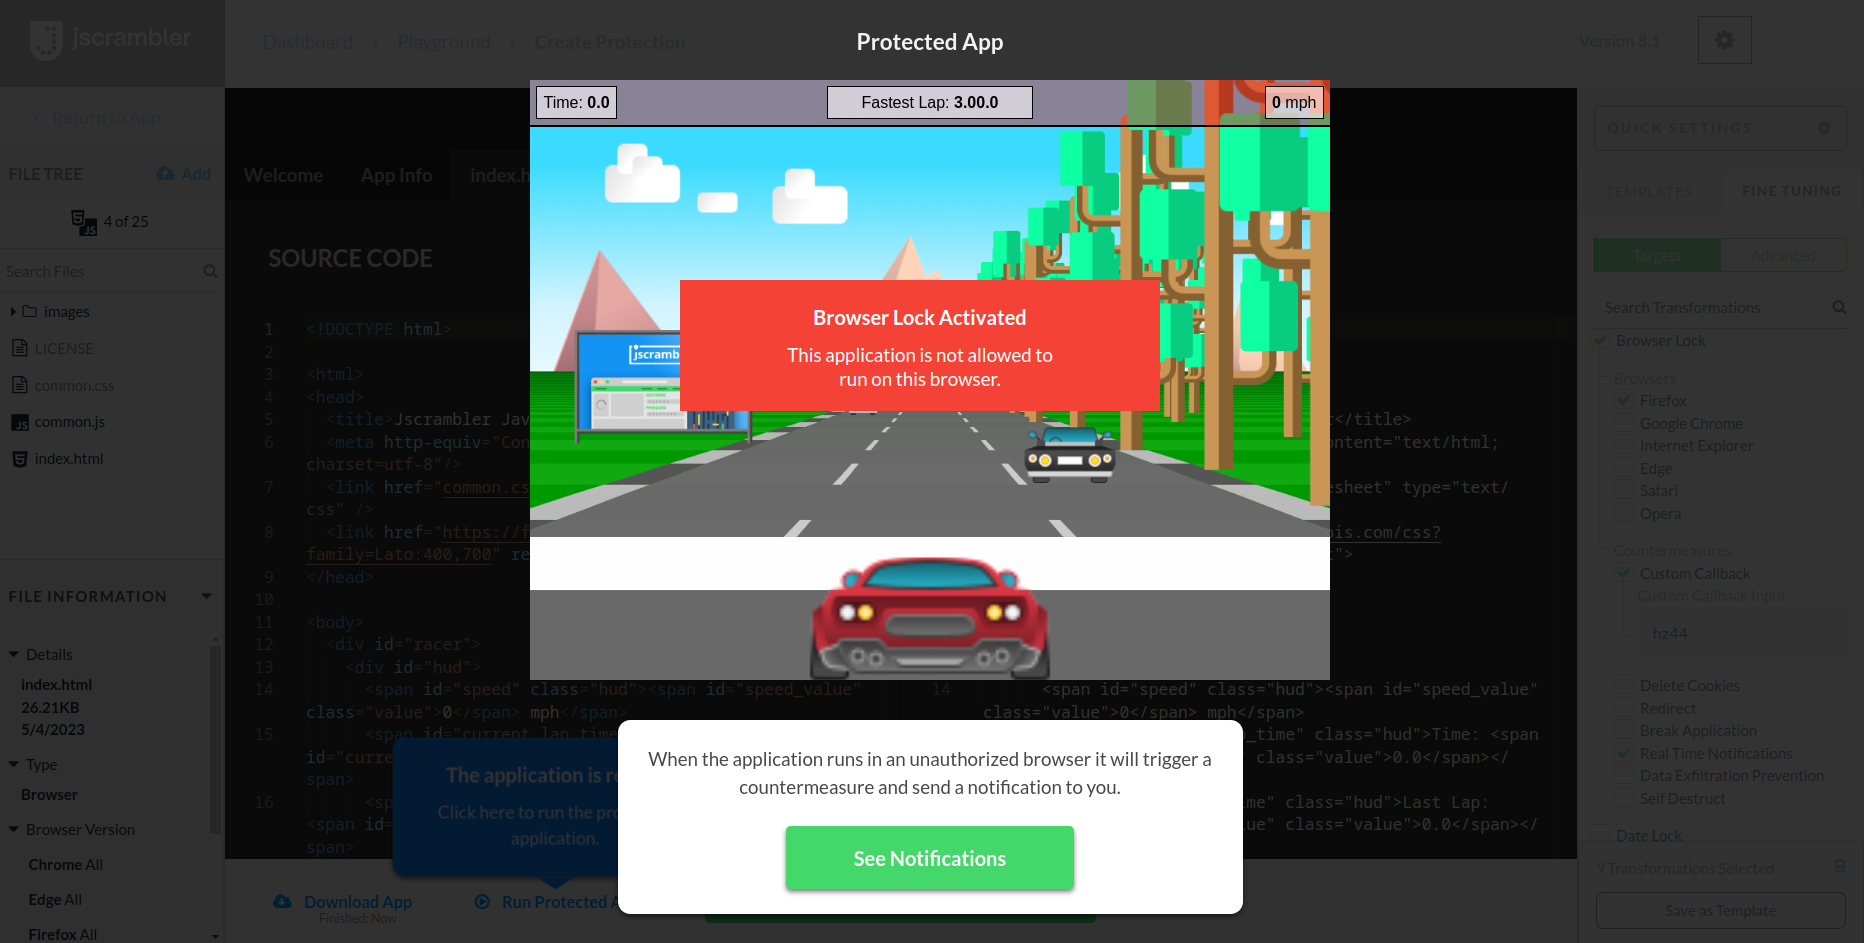
Because the code lock has the real-time notifications feature enabled, you can now click "See Notifications". This will lead you to your Live Feed, where you'll see an alert that someone tried to run the code outside of the lock.
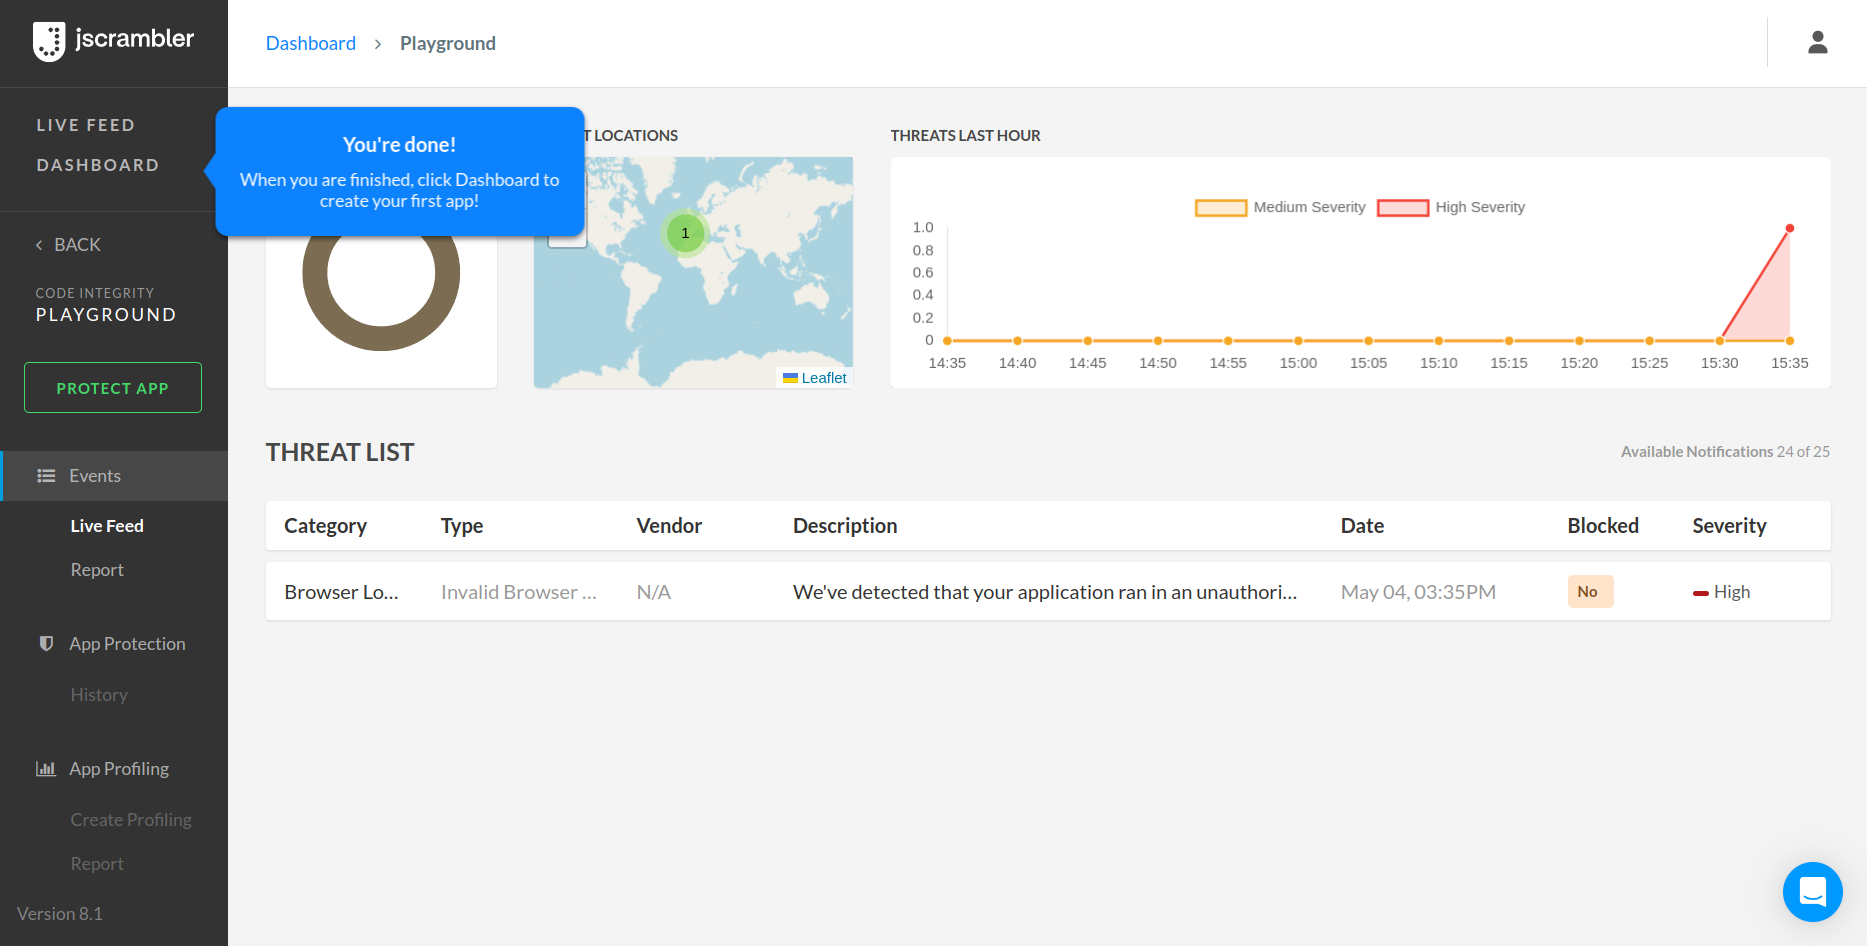
Now, you can proceed to your own dashboard, simply by following the message bubble and clicking Dashboard on the top left menu.

Navigating the Playground App
To use your Dashboard, you must verify your email address.
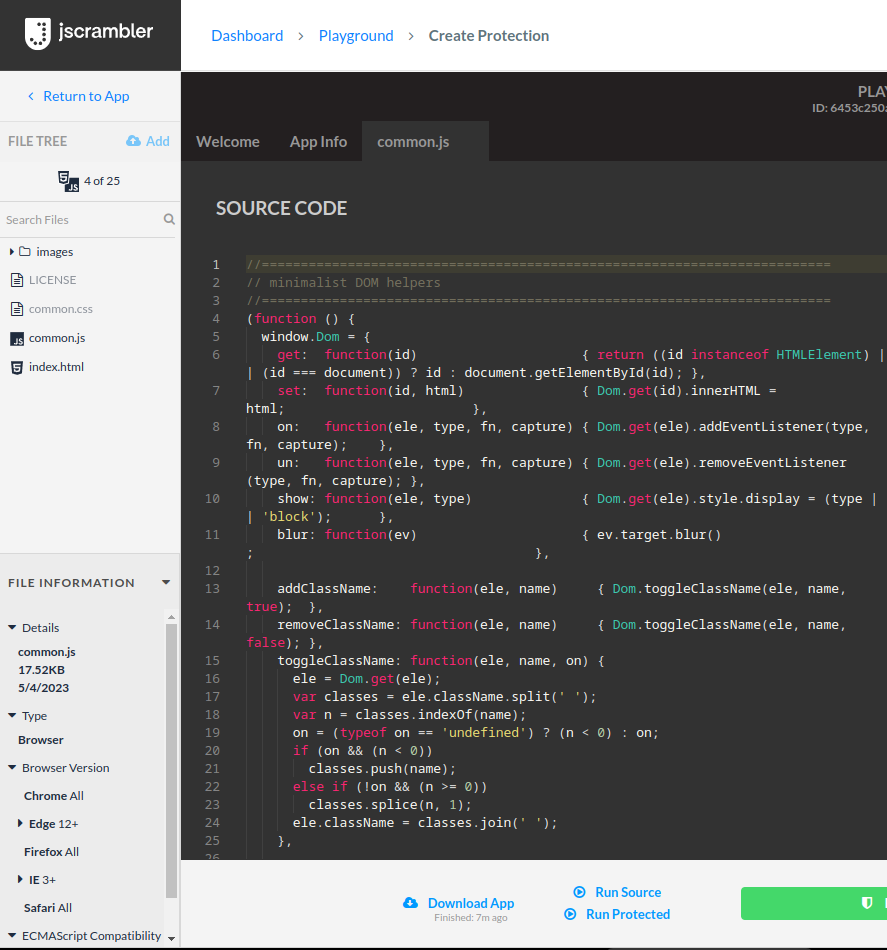
In the Dashboard, click the Playground app. This is a sample HTML5 racing game that will enable you to test our transformations. After opening the Playground, in the File Tree on the left, you will see a set of pre-configured sample files.
If you click the JavaScript file common.js, you will see its content on the left side of the Text Editor, and some information about the file on the bottom-left of the page (as shown in the screenshot).
Now, let’s move on to the right side of the text editor. Here is where you will find the protected code after you apply for protection. You can also find two available tabs:
Templates — where you can select one of our default templates (or use a template you created) in order to apply a saved set of transformations to the sample code.
Fine-Tuning — where you can select which individual transformations you want to apply to the source code.
 We'll now go over each of these tabs separately.
Fine-Tuning
On this tab, you can specify the code transformations you want to apply to the source code one by one.
On the top, you’ll notice there’s a Targets and an Advanced tab. You can select the targets and choose the transformations you want to apply in a simple way. If you want to take it one step further you can select the Advanced tab where you’ll get an additional set of options for your transformations.
If you hover over each transformation in the Advanced tab, a brief explanation will appear on each one. Take this as an example: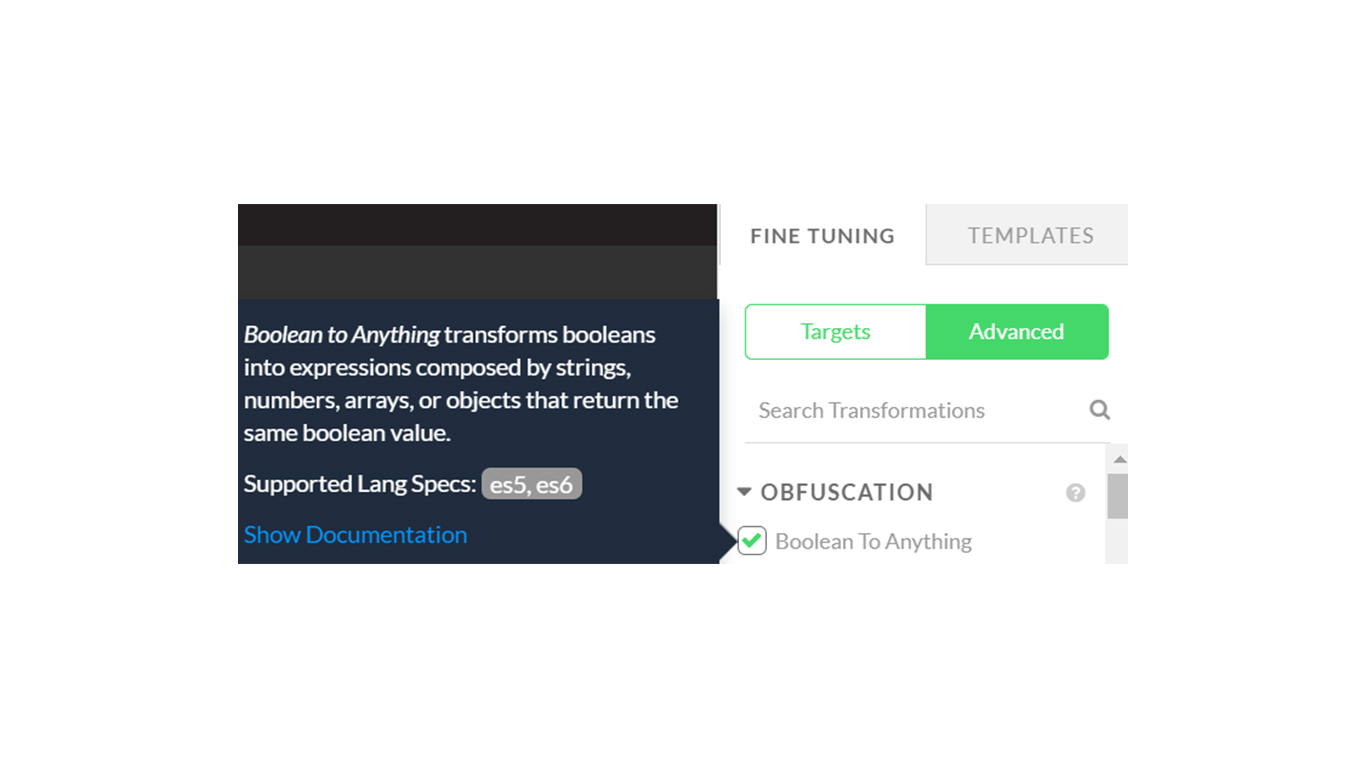
Templates
Templates consist of a saved set of code protections. As so, they enable you to apply multiple pre-defined transformations without needing to choose them one by one every time.
On this tab, you will find Default Templates and Custom Templates. Default Templates are provided directly by us and contain sets of protections with self-explanatory purposes. As an example, the Advanced Obfuscation template will apply a set of protections that give your code the highest level of obfuscation.
Custom Templates consist of templates you created. Creating a template is simple: head over to the Fine-Tuning tab and select some protections. From there, just click the Create Template button below the transformations. Give your template a name and a description, click Save Template and you’re done!
If you go into the Templates tab you should now see your new Template.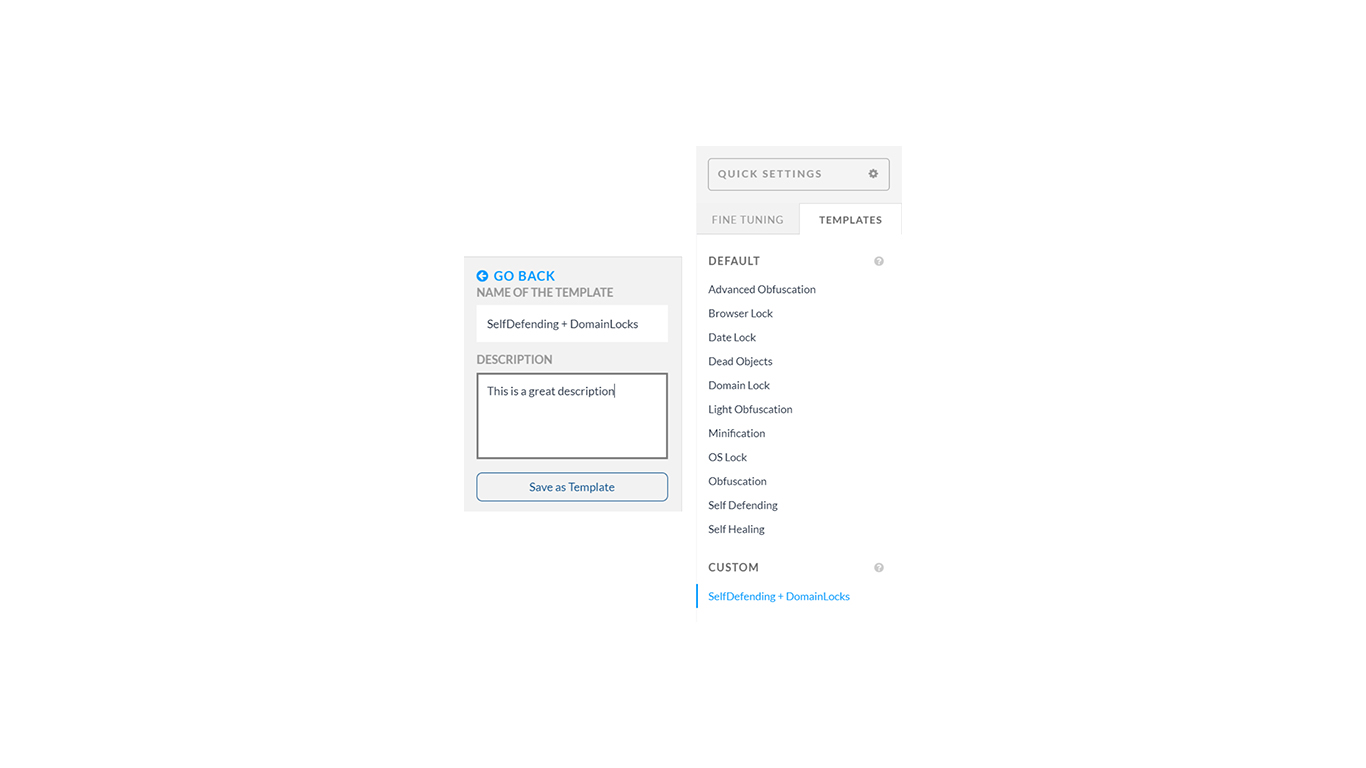
Protecting, Testing, and Downloading the Code
It's time to start protecting our HTML5 racing game. As you may remember, we can do this two different ways: either by picking protections one by one on the Fine-Tuning tab or by selecting a pre-defined template on the Templates tab.
Let's go ahead and test the Advanced Obfuscation template. Select it on the Templates tab. If you're curious to see which transformations this template includes, simply go to the Fine-Tuning tab and check for yourself.
We're ready to apply these protections. To do that, press Protect App at the bottom. After the app is protected, you will see the result on the right side of the text editor. If nothing shows up, just click on the common.js file. The result will be similar to this: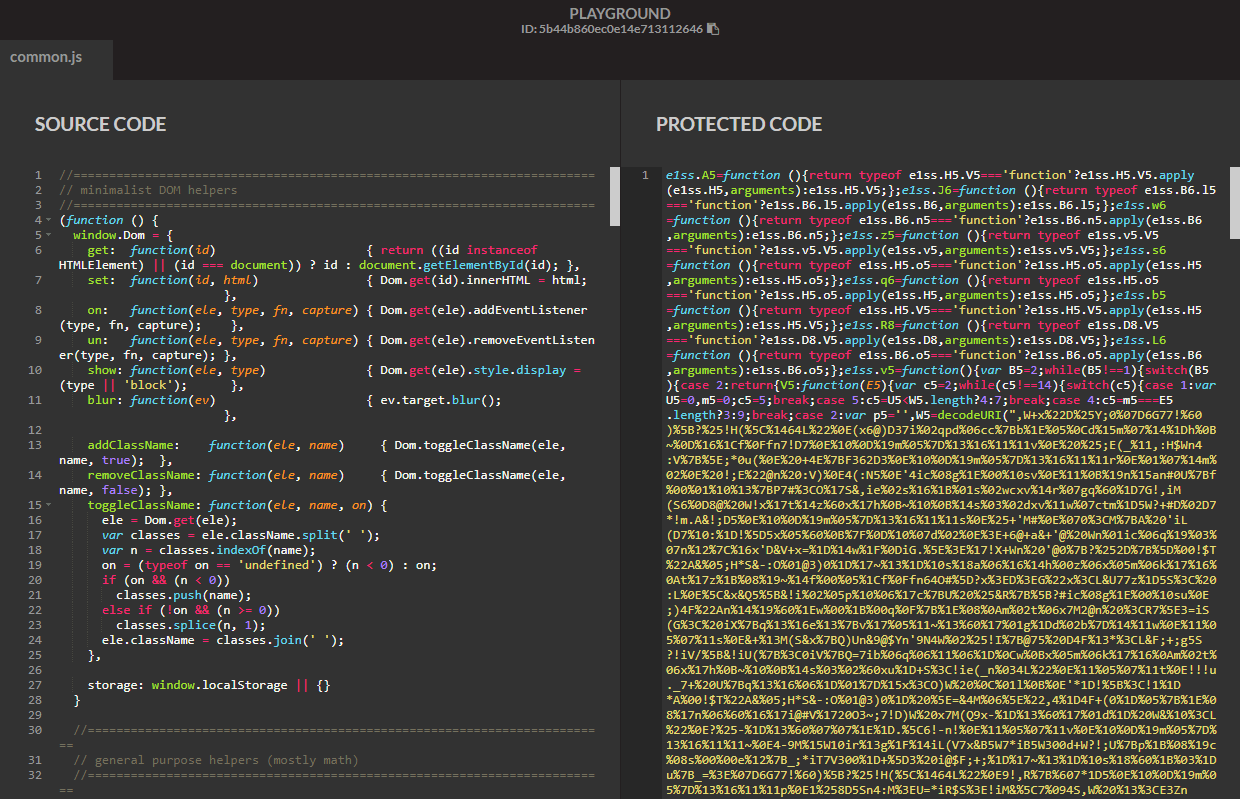
All protections you apply in the Playground won’t affect your account balance in any way — you can try everything without any worries.
Now, you can test the newly protected file. To do that, simply click "Run Protected" at the bottom of the screen. You will notice that the app will run normally, even though it's using obfuscated code.
Downloading your newly protected code is also straightforward: simply press Download App (bottom left) and that’s it.
The transformations we applied during this simple process already go a long way toward protecting your code. They are suitable for obfuscating your functions and objects and concealing their logic.
How to Protect Your Own App
So far, we have covered the basics of Jscrambler by using the Playground app. Now, we will guide you through the process of protecting your own app. To return to the dashboard, click the Dashboard link on the menu.
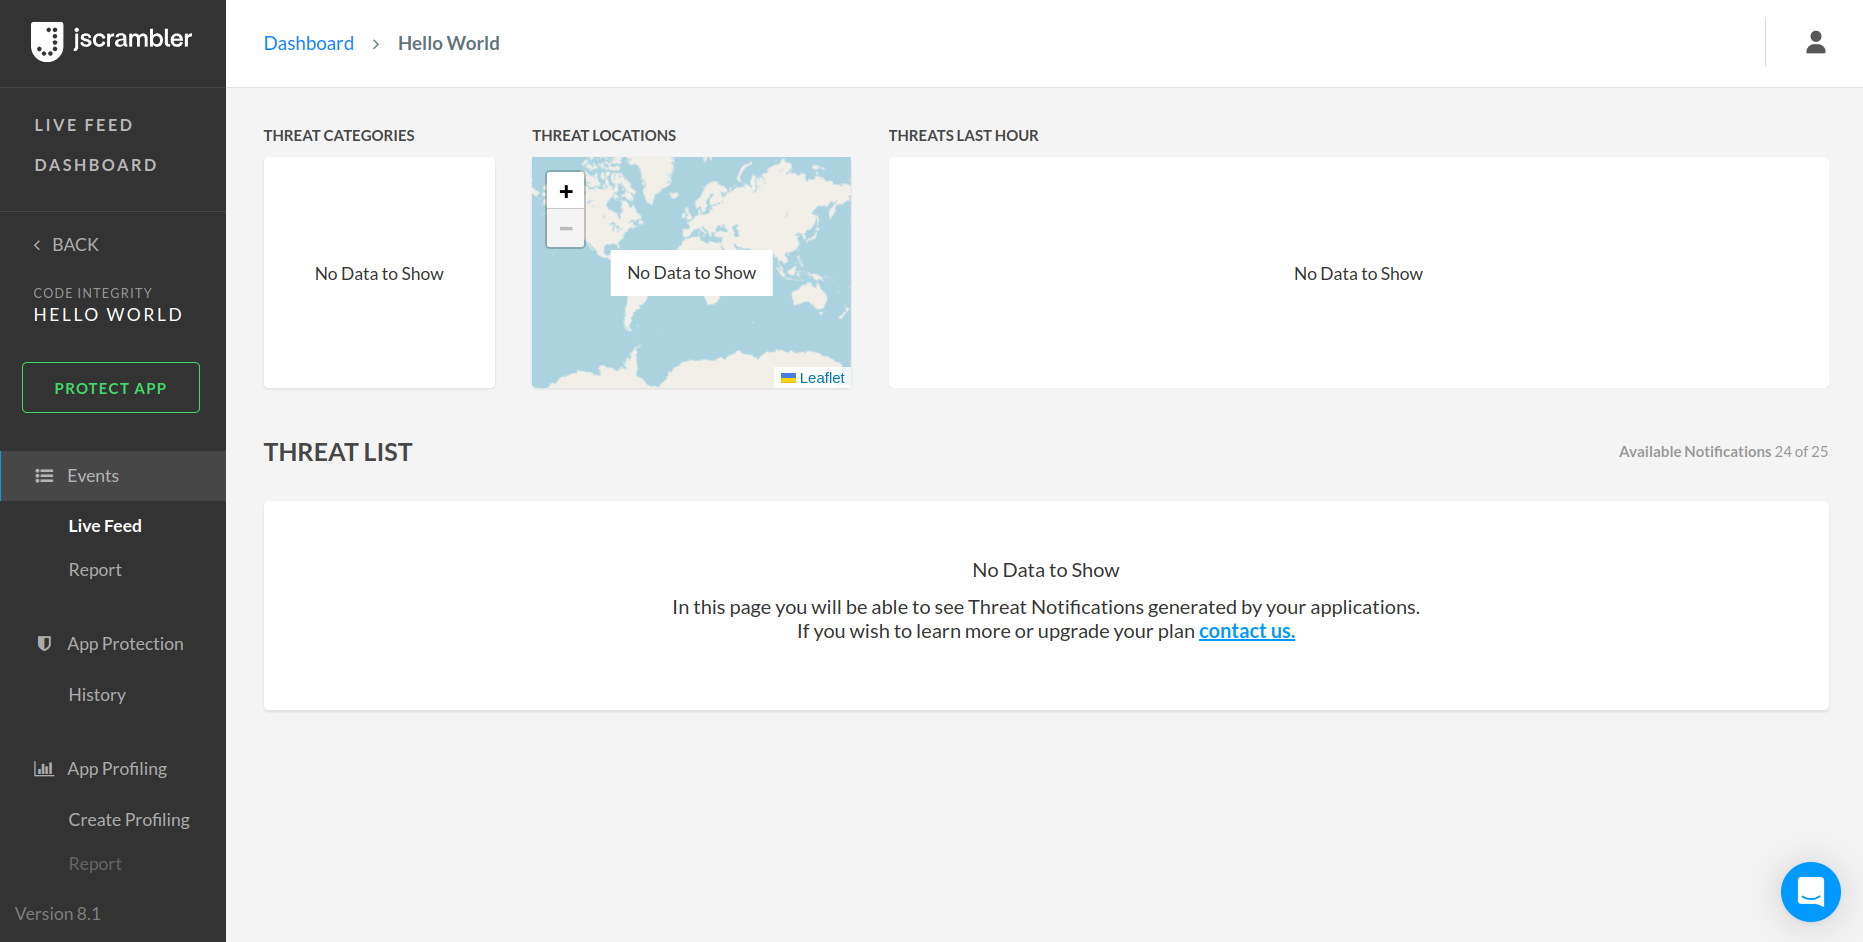
Once there, you should click the Add App button, insert a name in the input like Hello World, select the Protection Type as "Code Integrity", and click Create to create your own Jscrambler project.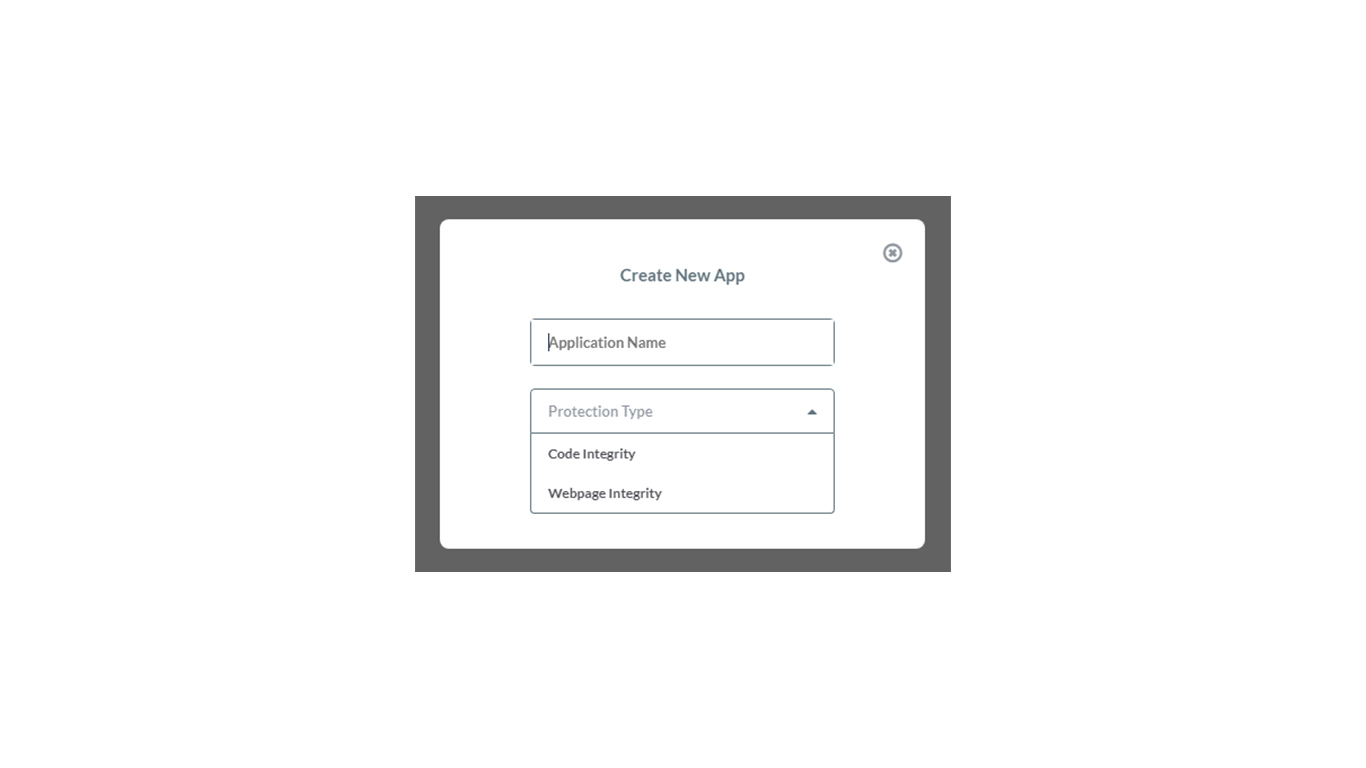 This will redirect you to the Live Feed for your newly created app. To enter the Code Integrity protection builder, click the Protect App option on the left sidebar.
How to Add Your Own File to Be Protected
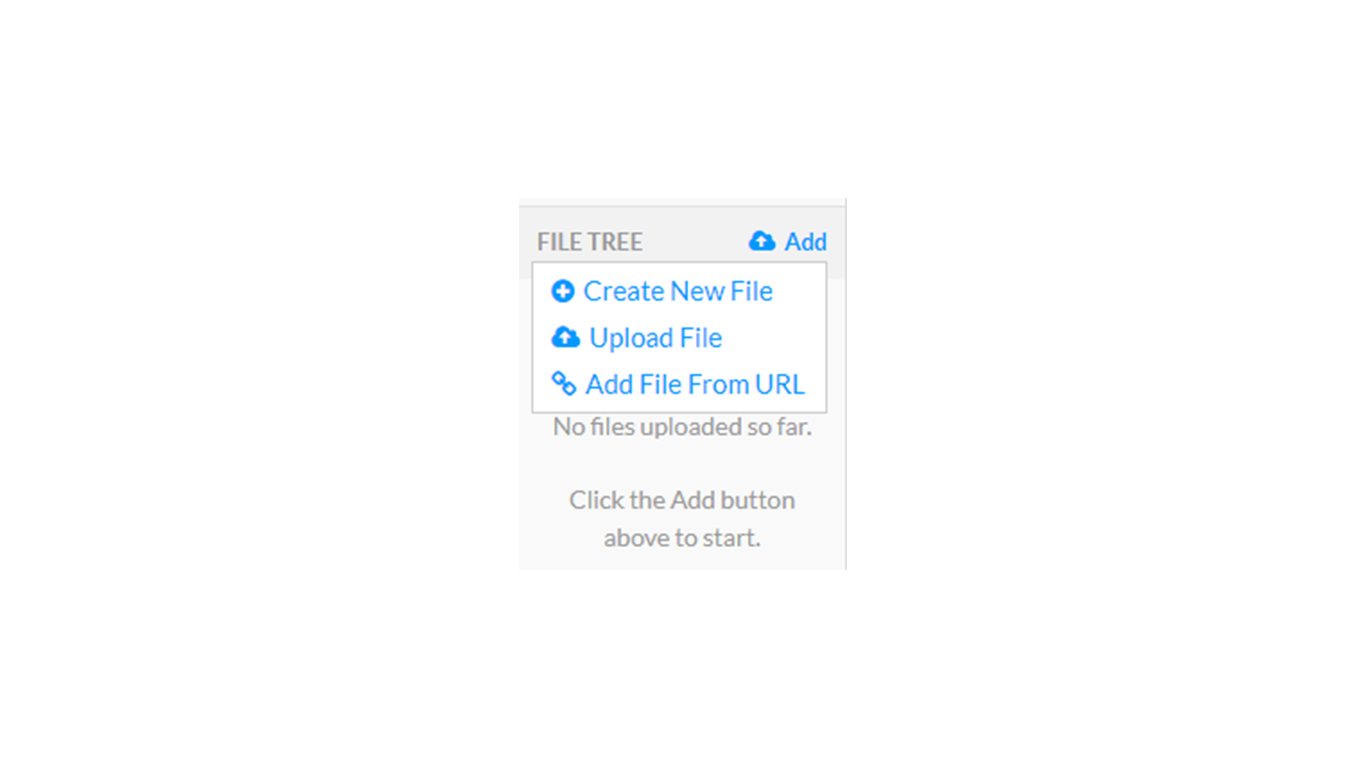
On the left side of the screen, you have your file tree, where you can check which files have been uploaded to the app. You can add your JavaScript and HTML files or add a single Zip archive containing your project into the app.
If you click the "Add" button on the left, you can see that a file can be created directly from the interface, uploaded from your device, or obtained through a URL. Choose the most suitable option to add your app.
 After you have some files in your file tree, you can apply transformations to your own code.
For tutorial purposes, let's choose Identifiers Renaming and Whitespace Removal as our transformations (find them after toggling Advanced Options, in the Fine-Tuning tab).
You may notice that some of the transformations are greyed out. This happens because you're currently using a free trial account. If you want to unlock all Jscrambler features, please upgrade your plan.
With your trial account, you can still try the greyed-out transformations, but only by selecting a predefined template.
You can now protect your app with these transformations and check out what your protected code looks like. After that, it's ready to be downloaded and used. Remember you can always create new templates to apply these transformations later.
Jscrambler CLI First Steps
With the Jscrambler CLI, you can easily integrate Jscrambler into your build process.
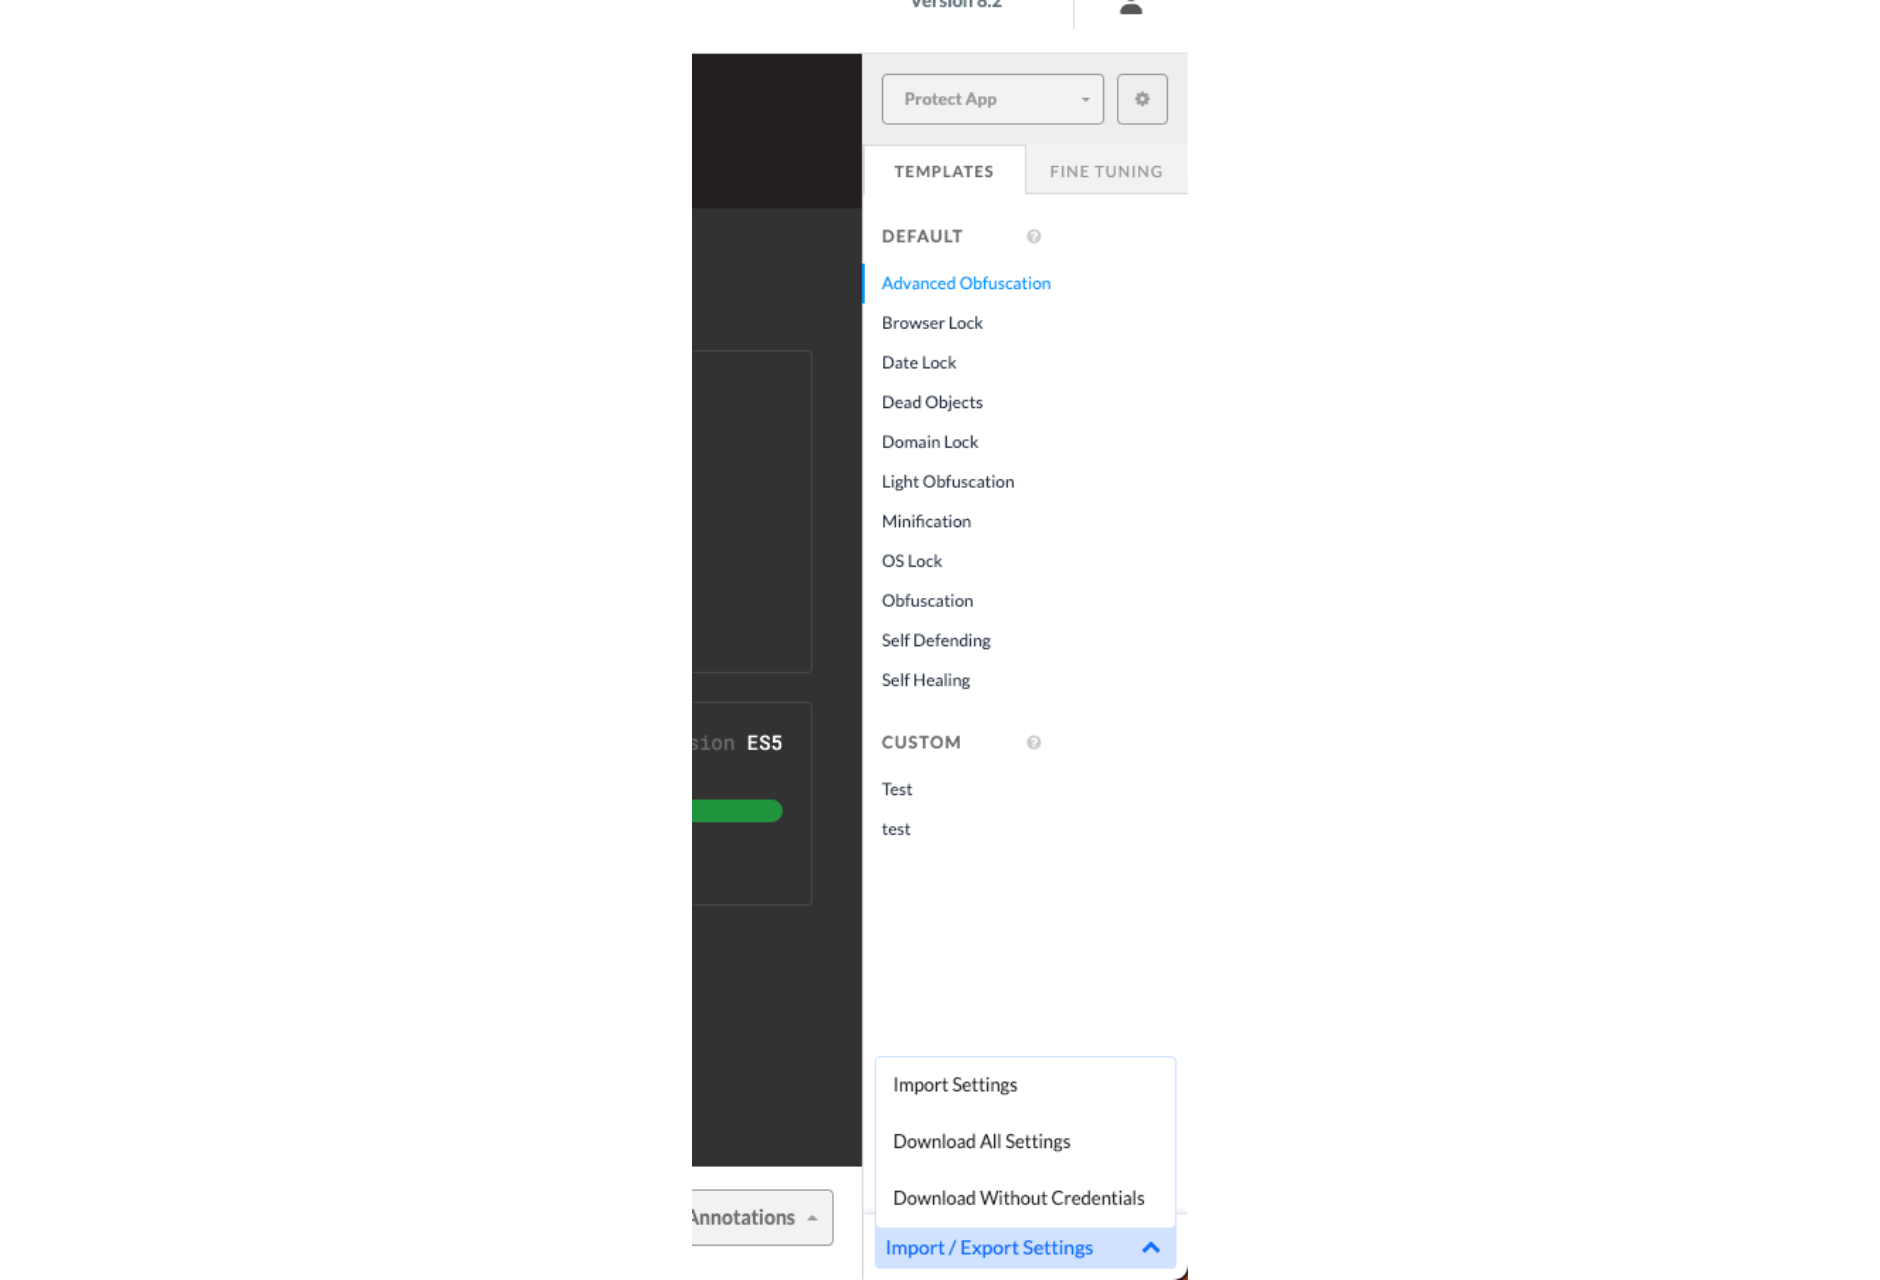
To get your Jscrambler configuration settings quickly, select the transformations you want (or a template) directly from the dashboard, and then download a JSON file by clicking the cogwheel above the Fine Tuning tab, and then clicking "Download Settings in JSON".
You will be able to decide whether to download the entire file or to download the file without your Jscrambler secrets. For the sake of this tutorial, download the entire file by selecting "All Parameters".
You should have downloaded a file similar to the one below:
{
  "keys": {
    "accessKey": "myAccessKey",
    "secretKey": "mySecretKey"
  },
  "applicationId": "myApplicationID",
  "params": [
        {
      "name": "identifiersRenaming"
    },
    {
      "name": "whitespaceRemoval"
    }
  ],
  "areSubscribersOrdered": false,
  "applicationTypes": {
    "webBrowserApp": false,
    "desktopApp": false,
    "serverApp": false,
    "hybridMobileApp": false,
    "javascriptNativeApp": false,
    "html5GameApp": false
  },
  "languageSpecifications": {
    "es5": true,
    "es6": false,
    "es7": false
  },
  "useRecommendedOrder": true,
  "jscramblerVersion": "8.1",
  "tolerateMinification": true
}
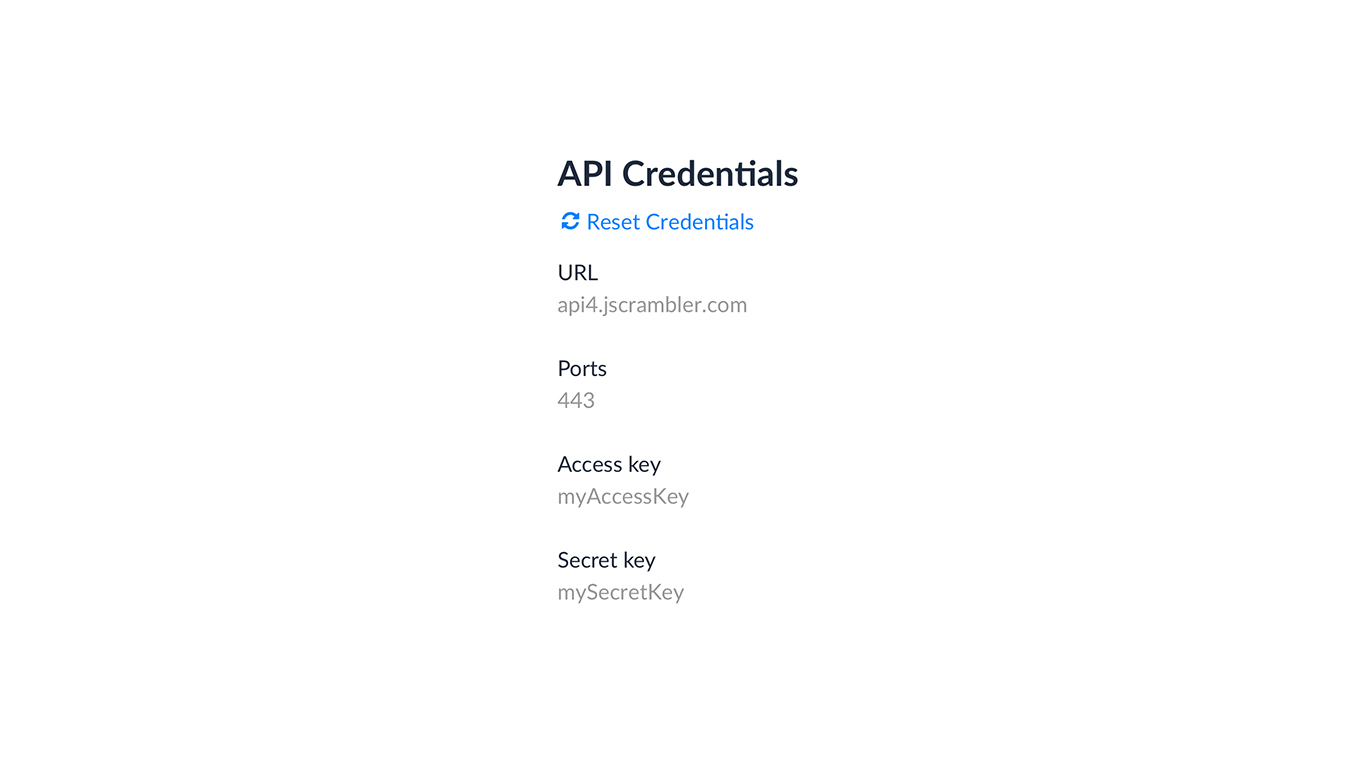
The AccessKey and SecretKey vary from user to user, while applicationId changes according to the application you are protecting. You can check your application inside the app, above the text editor: As for your AccessKey and SecretKey, you can check them on the My Profile page, under the "API Credentials" section:
 For further directions on using the Jscrambler CLI, check our following 101 article.
In case you're using a specific JavaScript framework or library, see our integration tutorials below:
Conclusion
This concludes our first tutorial on how to use Jscrambler.
You should now be able to navigate easily through the available apps, create new projects, apply transformations to your code, save them as templates, and download them as a JSON file to be able to use the API.
Feel free to proceed to one of our next 101 Tutorials, according to your current needs:
Jscrambler 101 — Code Annotations (Code Performance)
Jscrambler 101 — Profiling (Code Performance)
Enjoy your testing and start protecting your Applications ASAP! If you have any additional questions, feel free to contact us.
Jscrambler
The leader in client-side Web security. With Jscrambler, JavaScript applications become self-defensive and capable of detecting and blocking client-side attacks like Magecart.
View All ArticlesMust read next
Jscrambler 101 — Code Annotations
Welcome back to our 101 tutorials on how to use Jscrambler to protect your JavaScript. This time, we’re going to talk about Code Annotations.
May 28, 2024 | By Jscrambler | 8 min read
Jscrambler 101 — Self Defending
Welcome back to our 101 tutorials on how to use Jscrambler to protect your JavaScript. This time, we’re going to talk about Self Defending.
November 14, 2023 | By Jscrambler | 3 min read
